

Bayley (who also has one of these robots) put me in touch with someone from Dogotix (or as the manual calls it, Shenzhen Dogo Robot Technology Co., Ltd.). He said something to the effect of "I'm not making them any more but my friend still is, we'll put one together for you". And a month or so later a robot appeared. Robots identical to the one I got seem to be available from a variety of places (AliExpress from multiple sellers, RobotDigg), so I'm still not sure if there's just one manufacture behind the scenes, or several building the exact same thing.


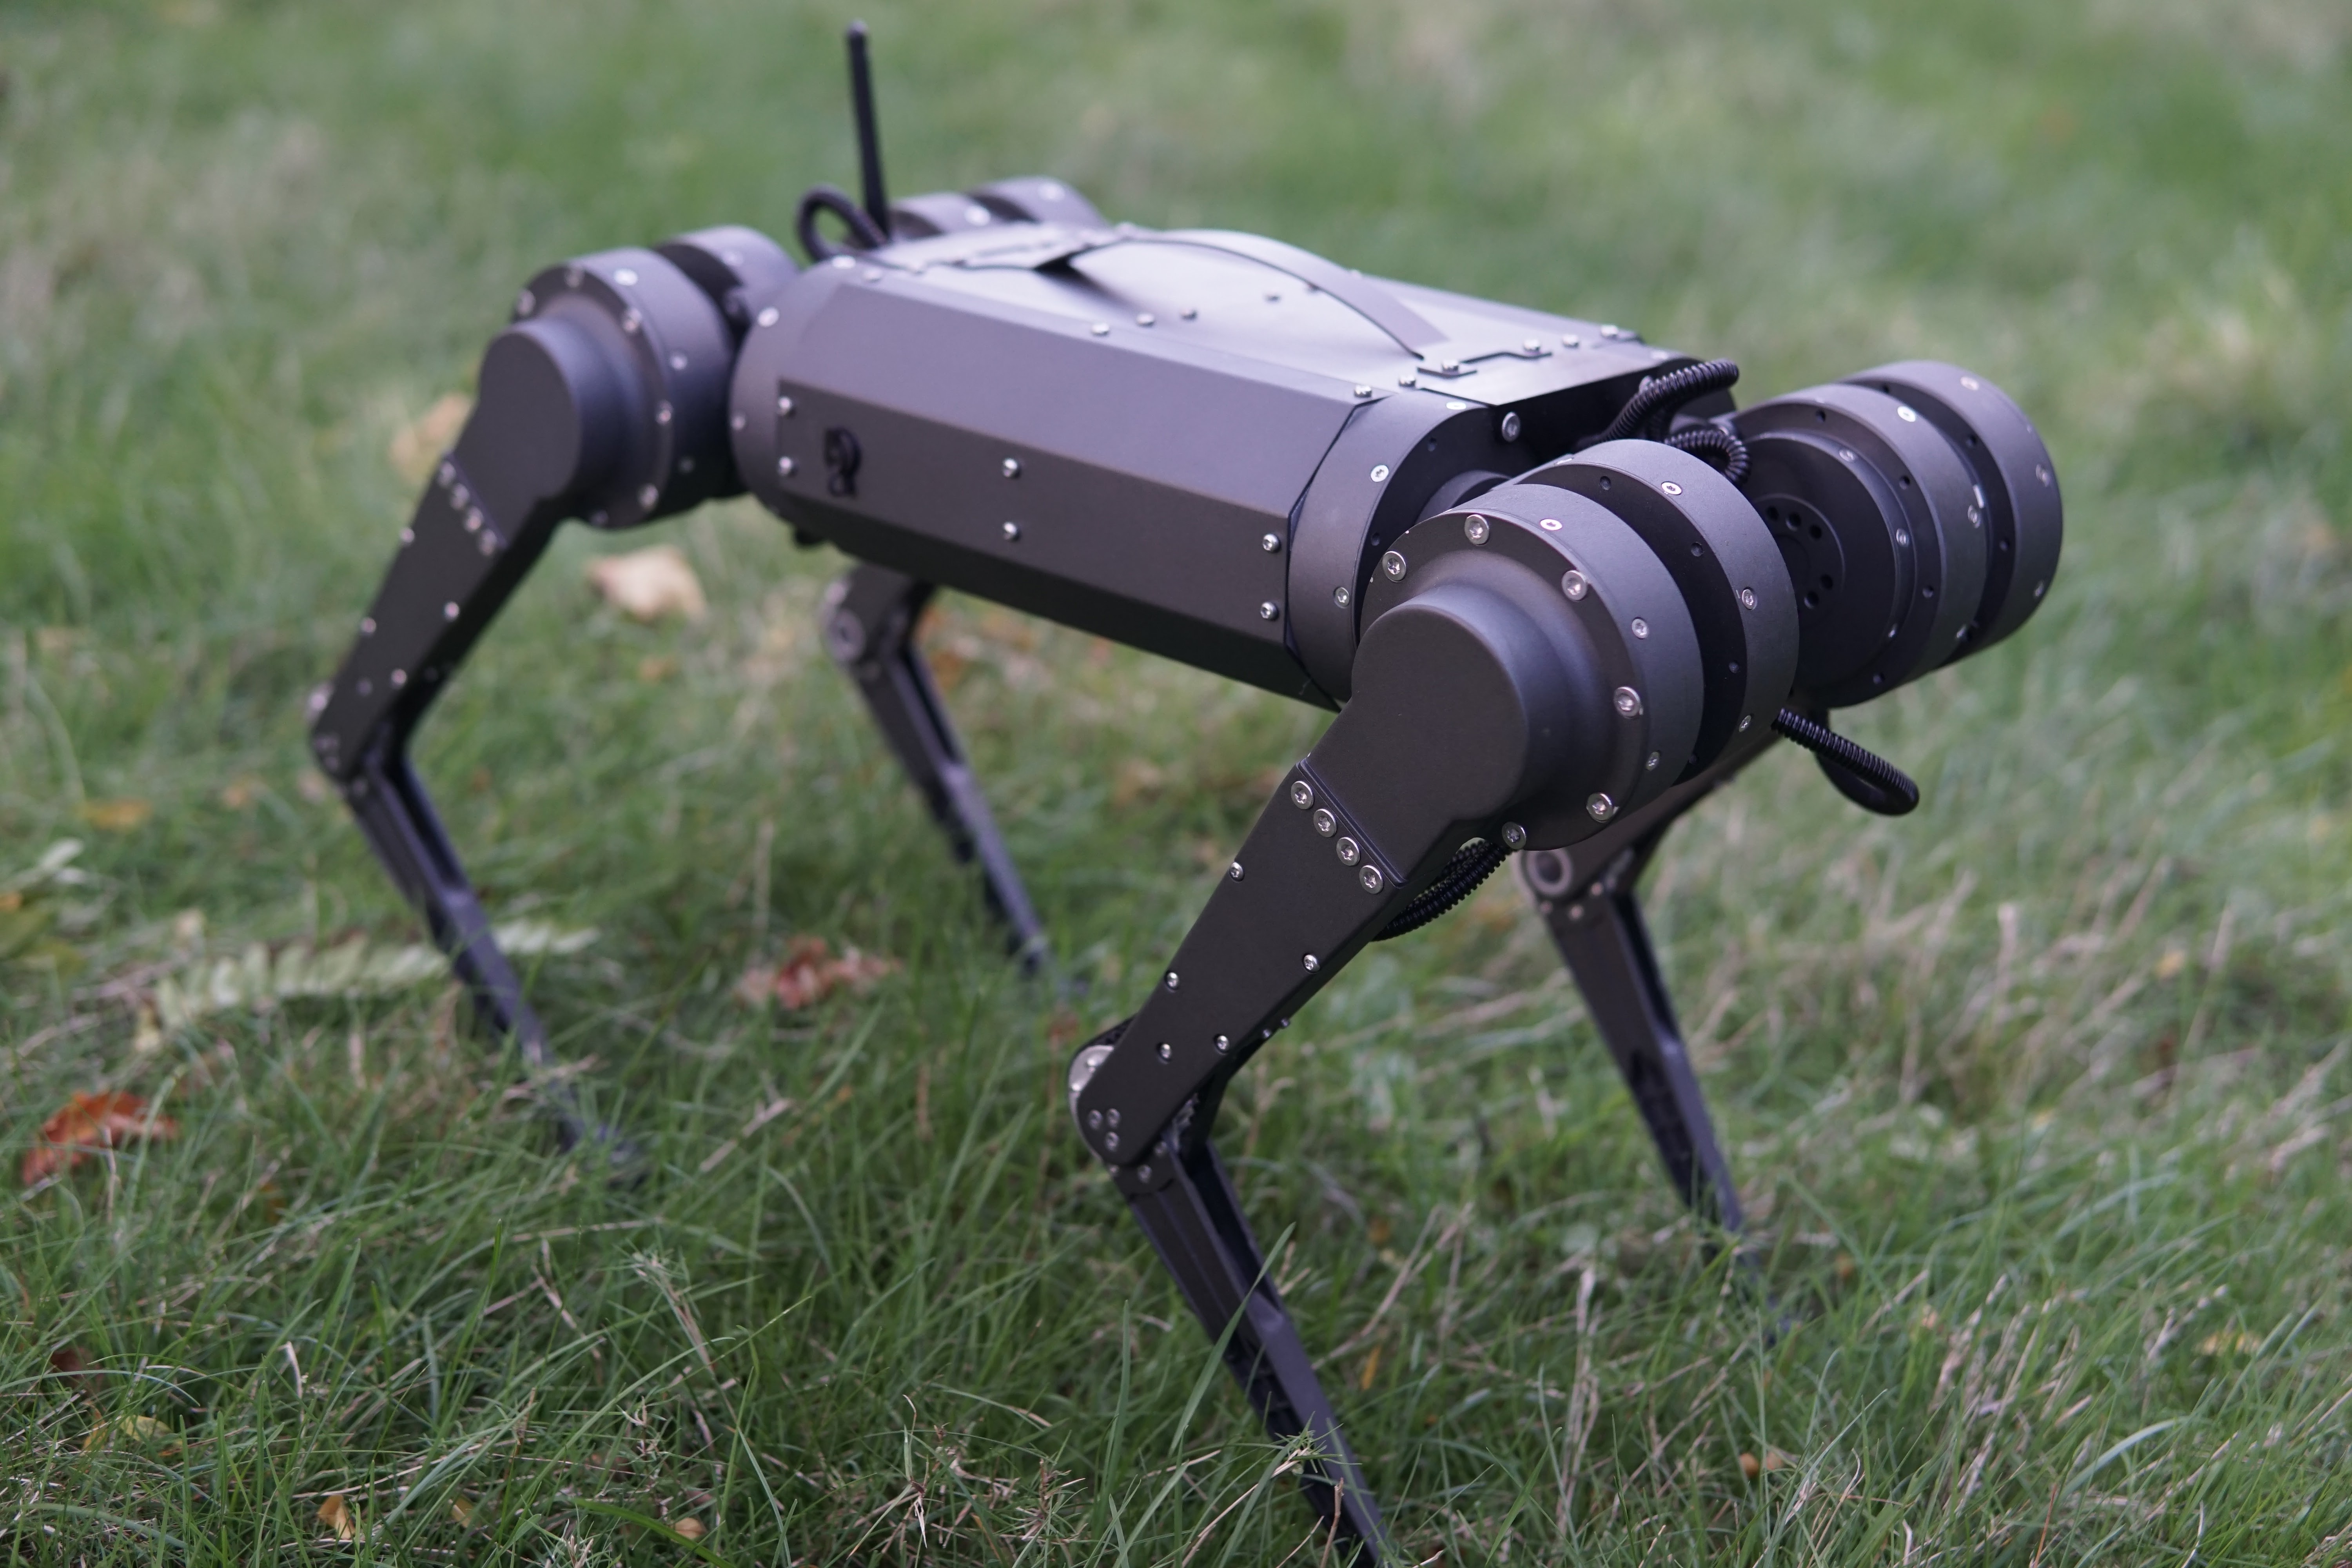
And here it is:

First power-up after reading the manual:
We have some miniature sheep (Ouessant) out behind my house (not my sheep, the owners of the property rent out the field out back). I was curious how they'd react to the robot:
The backflip didn't work in the video above, where the battery was nearly dead, but worked once it was charged:

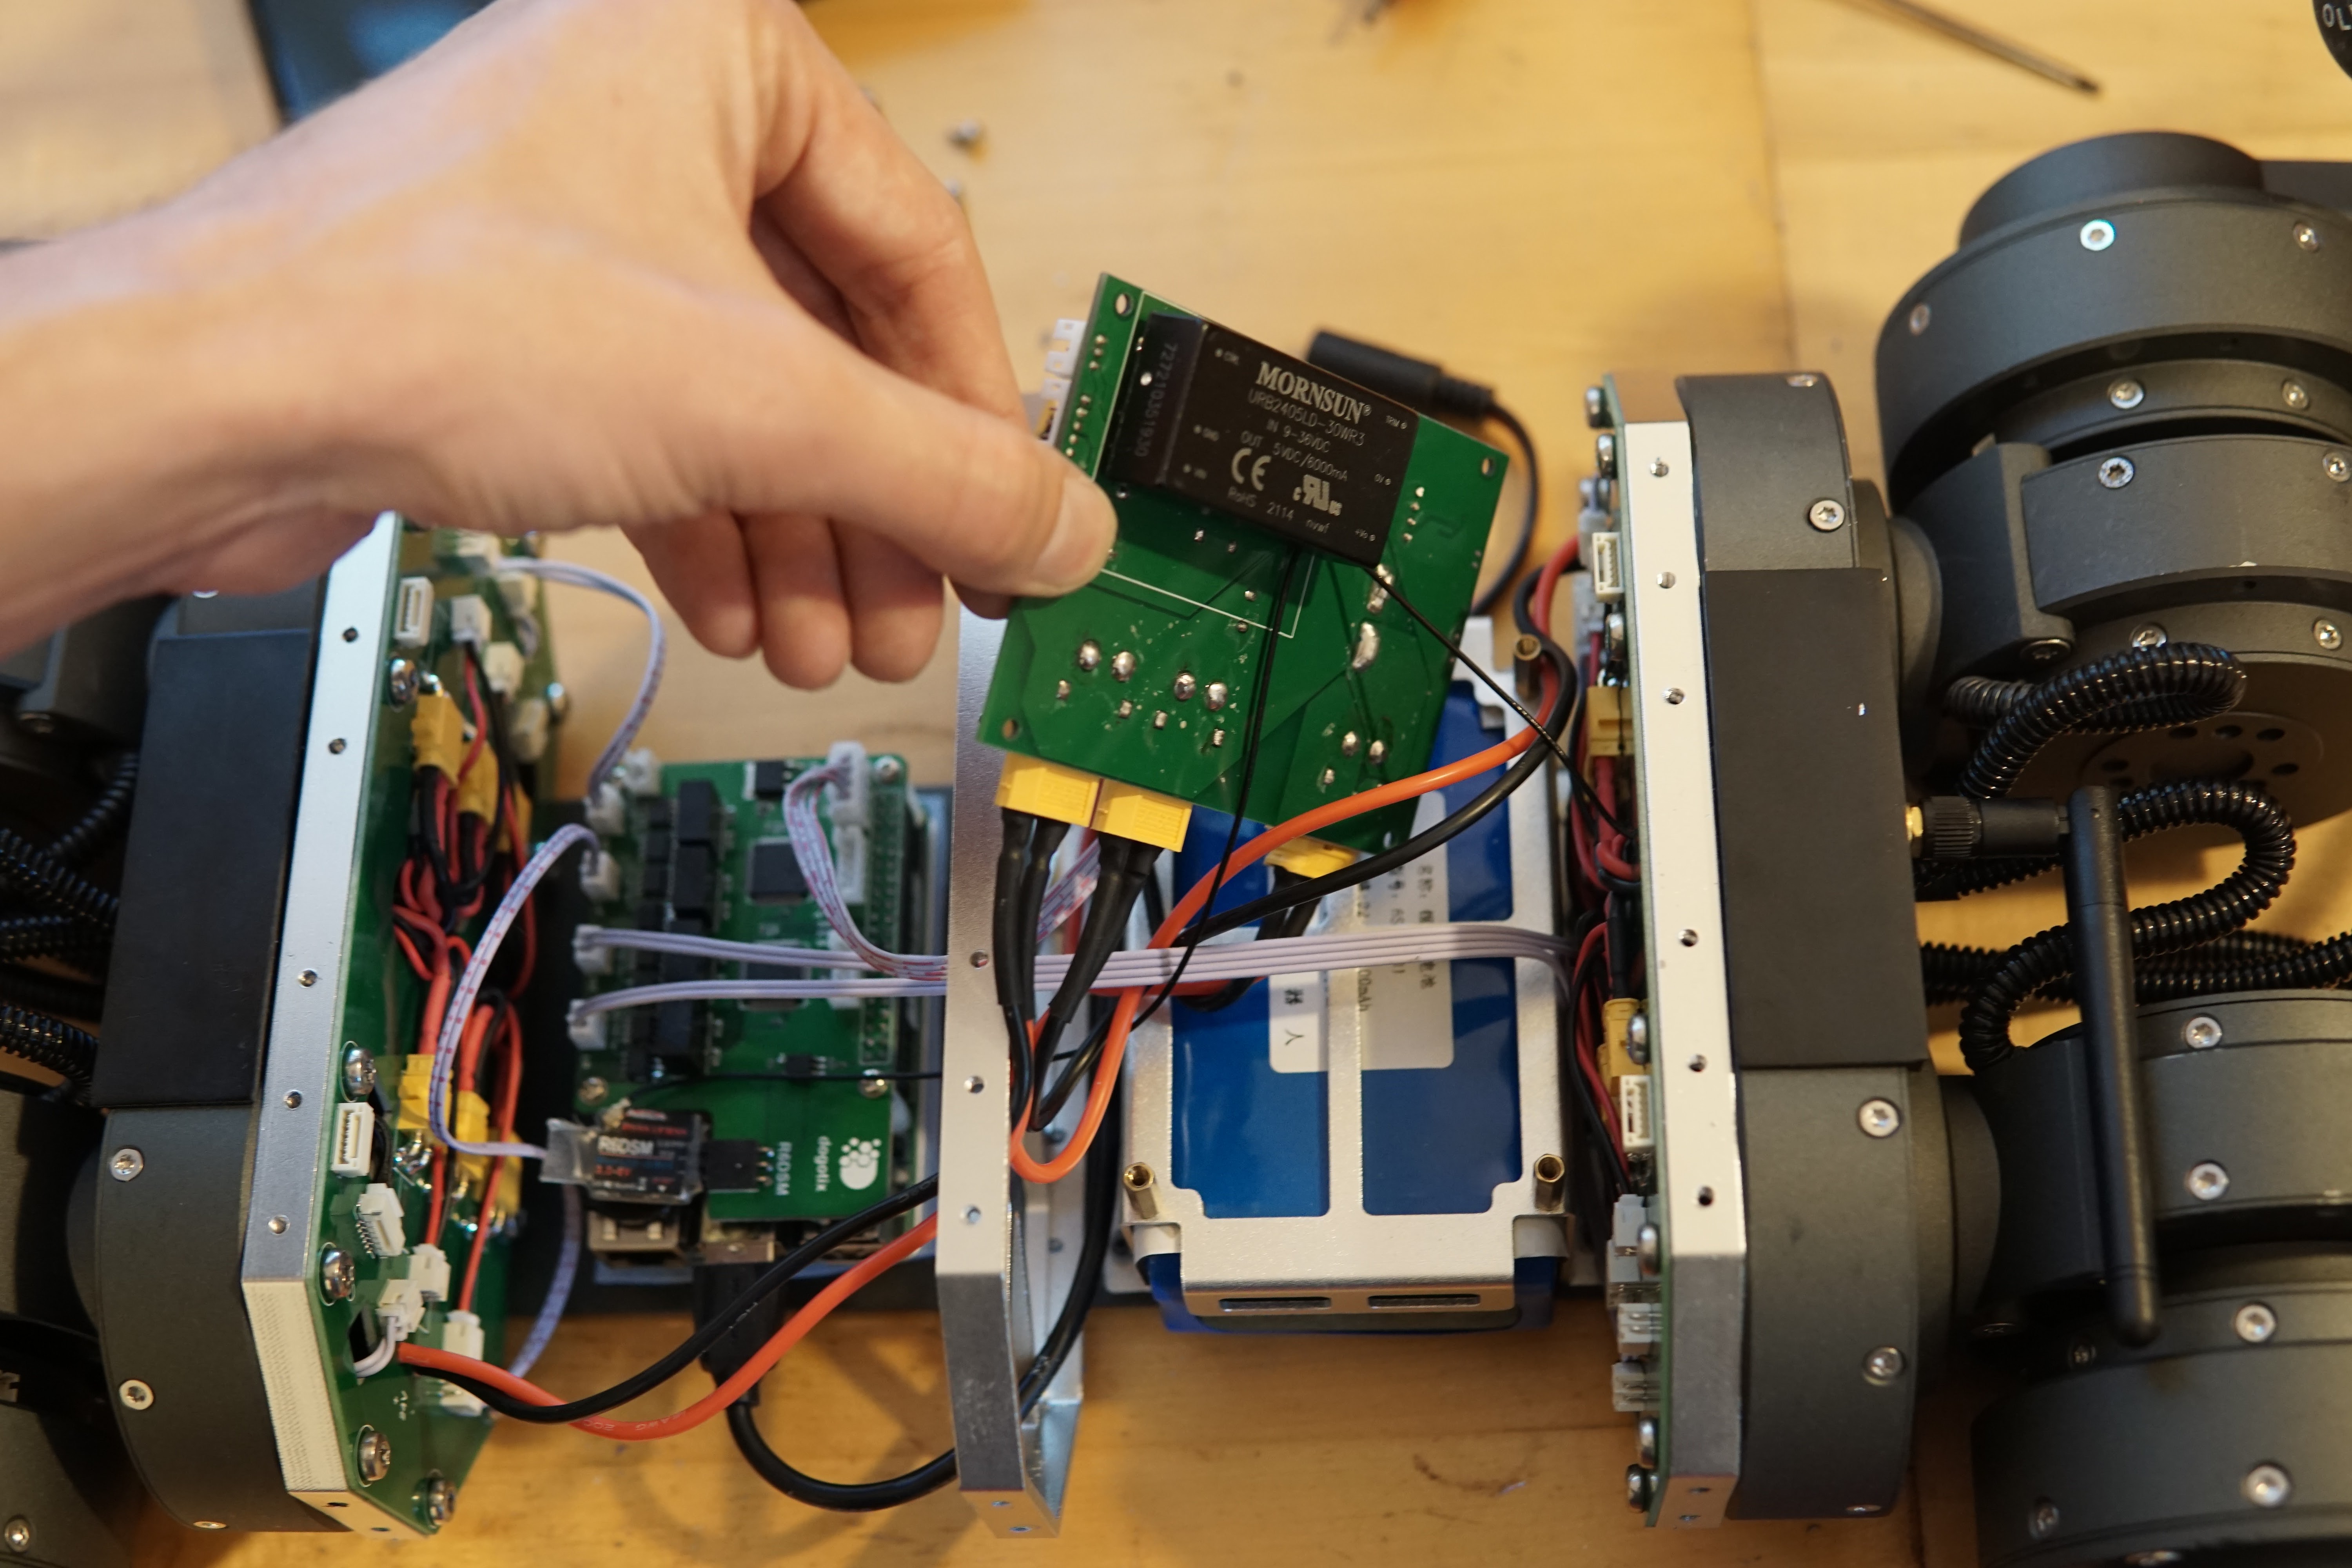
Since the robot works, time to take it apart. On the operating table:
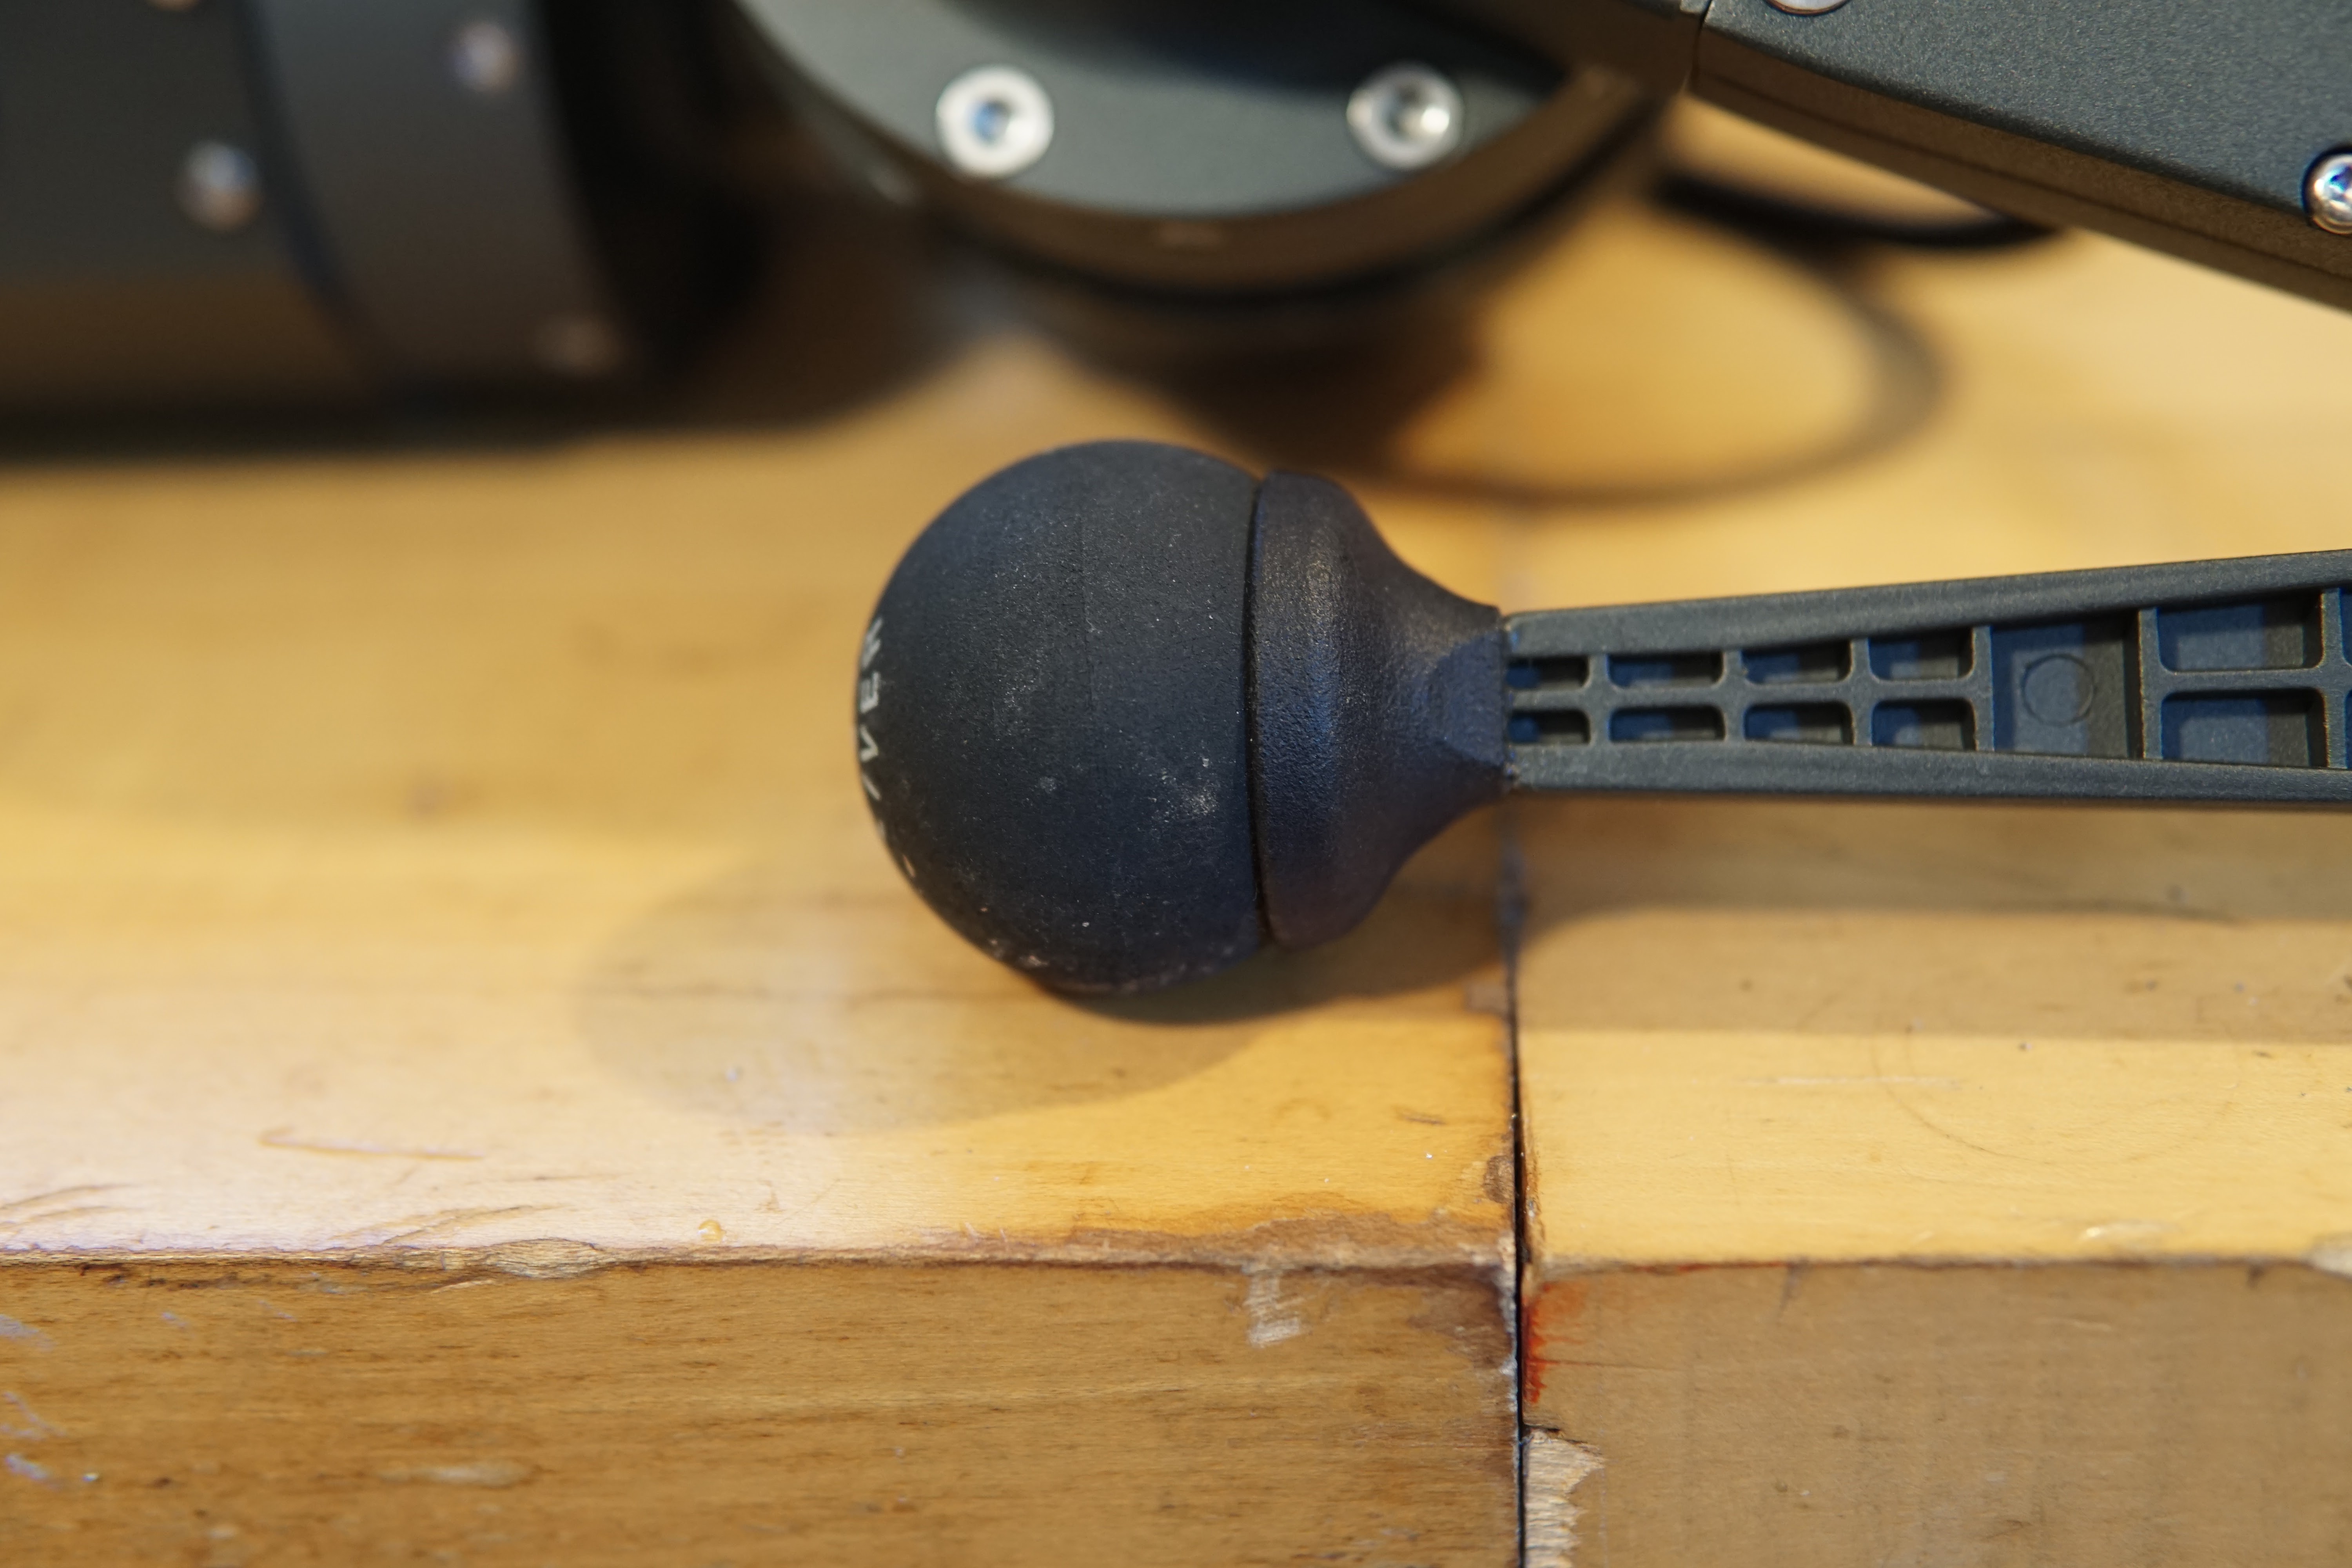
First hilarious mechanical detail, the feet are still squash balls:

The squash balls are stuck onto some SLA printed "socks", glued onto the lower leg - just the way I did it on the original robot. The later robots I made had easier to replace feet.
The major leg and actuator structures are all die cast! Visible ejector pin marks:

Cracking the leg open - the robot has a 3-piece leg upper design, which on the original Mini Cheetah was a relic of the design of the teleoperation setup I built, which had one actuator on each side of the leg. I originally thought the Mini Cheetah legs were going to have the same layout, but I ended moving things around. But I'd already machined all the leg parts myself on the lab Haas, so I wasn't going to re-do all that work. Amusing that they just copied this instead of doing a simpler 2-part clamshell like I did on the later robots.

More molding marks inside the upper leg structure:

The knee belt isn't a Gates belt like I used, and has fiberglass tensile members rather than Kevlar. A few spare belts were shipped with the robot, that's probably why.

Close-up of one of the belt tensioners - the roller is a drawn cup needle roller bearing, which isn't great since it doesn't evenly support the full width of the belt. Tensioner looks a little anemic too, I wouldn't be surprised if they get bent (especially if the belts are upgraded to kevlar). After breaking the first set of tensioners on the original Mini Cheetah doing backflips, I made them way beefier and 7075.

One kind of neat change, the actuators have mounting features built-in so they can be axially stacked at the hip.

Cracking the cap off the motor drive - more die casting:

Close-up of the motor drive. It uses the same STM32F446RET6 micro and DRV8323RS gate driver I do, but different FETs and passives. The power and CAN wiring are hard soldered into the motor drive PCB - I'm not a fan of that.
.JPG)
There was a surprise on the underside of the motor drive - in the middle is an AMS AS5047 encoder IC (one I've used in the past but switch away from due to availability), but circling the encoder is another board with an array of analog hall sensors:

Through these holes in the rotor, you can see the corner of a bar magnet - the magnet is glued to the back of the planet carrier, on the output of the actuator. This is actually a pretty neat trick - the analog hall sensors and bar magnet give rough output position - accurate enough to determine which rotation the input encoder is on relative to the the output. For the Mini Cheetah, I didn't have any sort of output encoder, so the robot had to be turned on in a zero-configuration, within one rotor rotation (60 degrees at the output). That would be totally unacceptable for a product, so it's neat to see this cheap solution that doesn't use a full-fledged output encoder.
.JPG)
Cracking the covers open - looks like a bit of a wiring mess in there:

Closer view of the power management board. In addition to the precharge circuit, there are a few interesting features here that I didn't have. First, there's bus current sensing and over-current protection. The big bug-like component on the right of the board is an Allegro hall effect current sensor. The two DIP switches let you set the current limit (or turn it off, as you need to do for backflips...). Also neat, there's an STM32F103 on the board, and an isolated CAN circuit copied from the SPIne board. The CAN connector isn't populated, and I don't know if the micro even has any firmware on it, but presumably you could hook this into one of the CAN busses and log battery voltage and current.

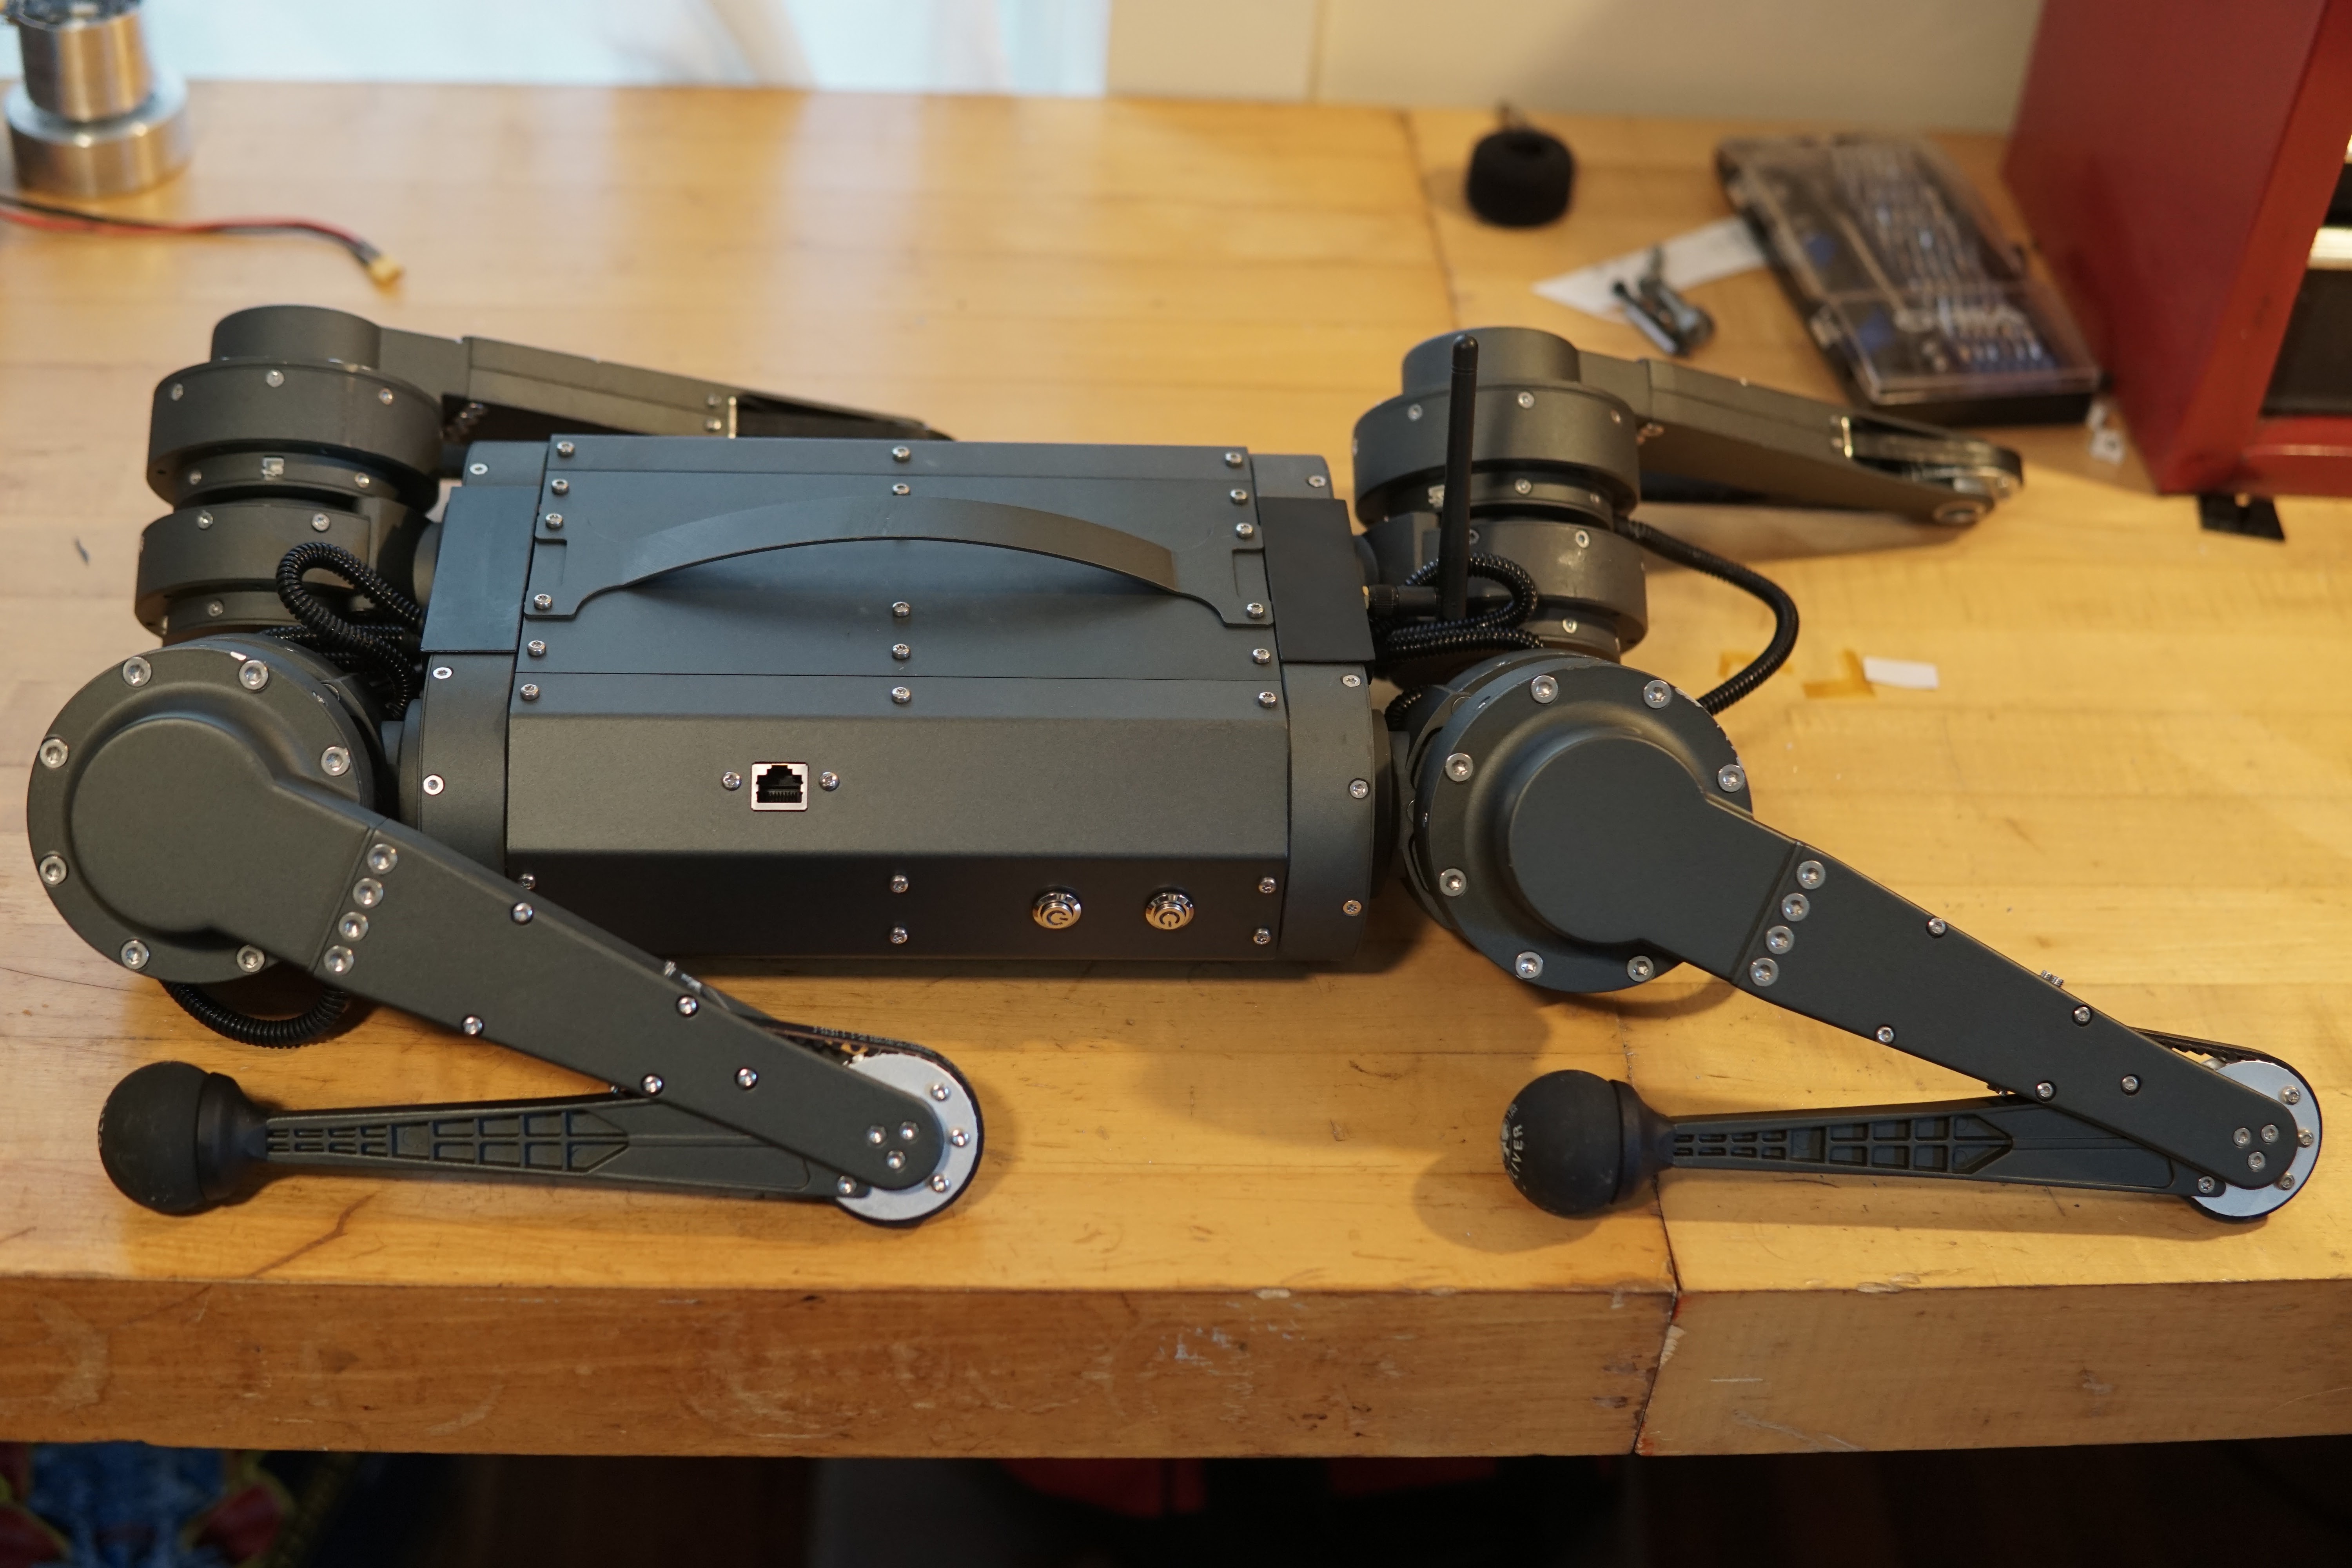
Here's the robot propped up in a pin-up pose for accessing the side panel screws. A pose the robots were frequently in for (dis)assembly back at the lab.

Nothing too exciting on the panels - a pair of switches for motor and computer power that plug into the power boards, and a chassis mount ethernet extension plugging into the computer

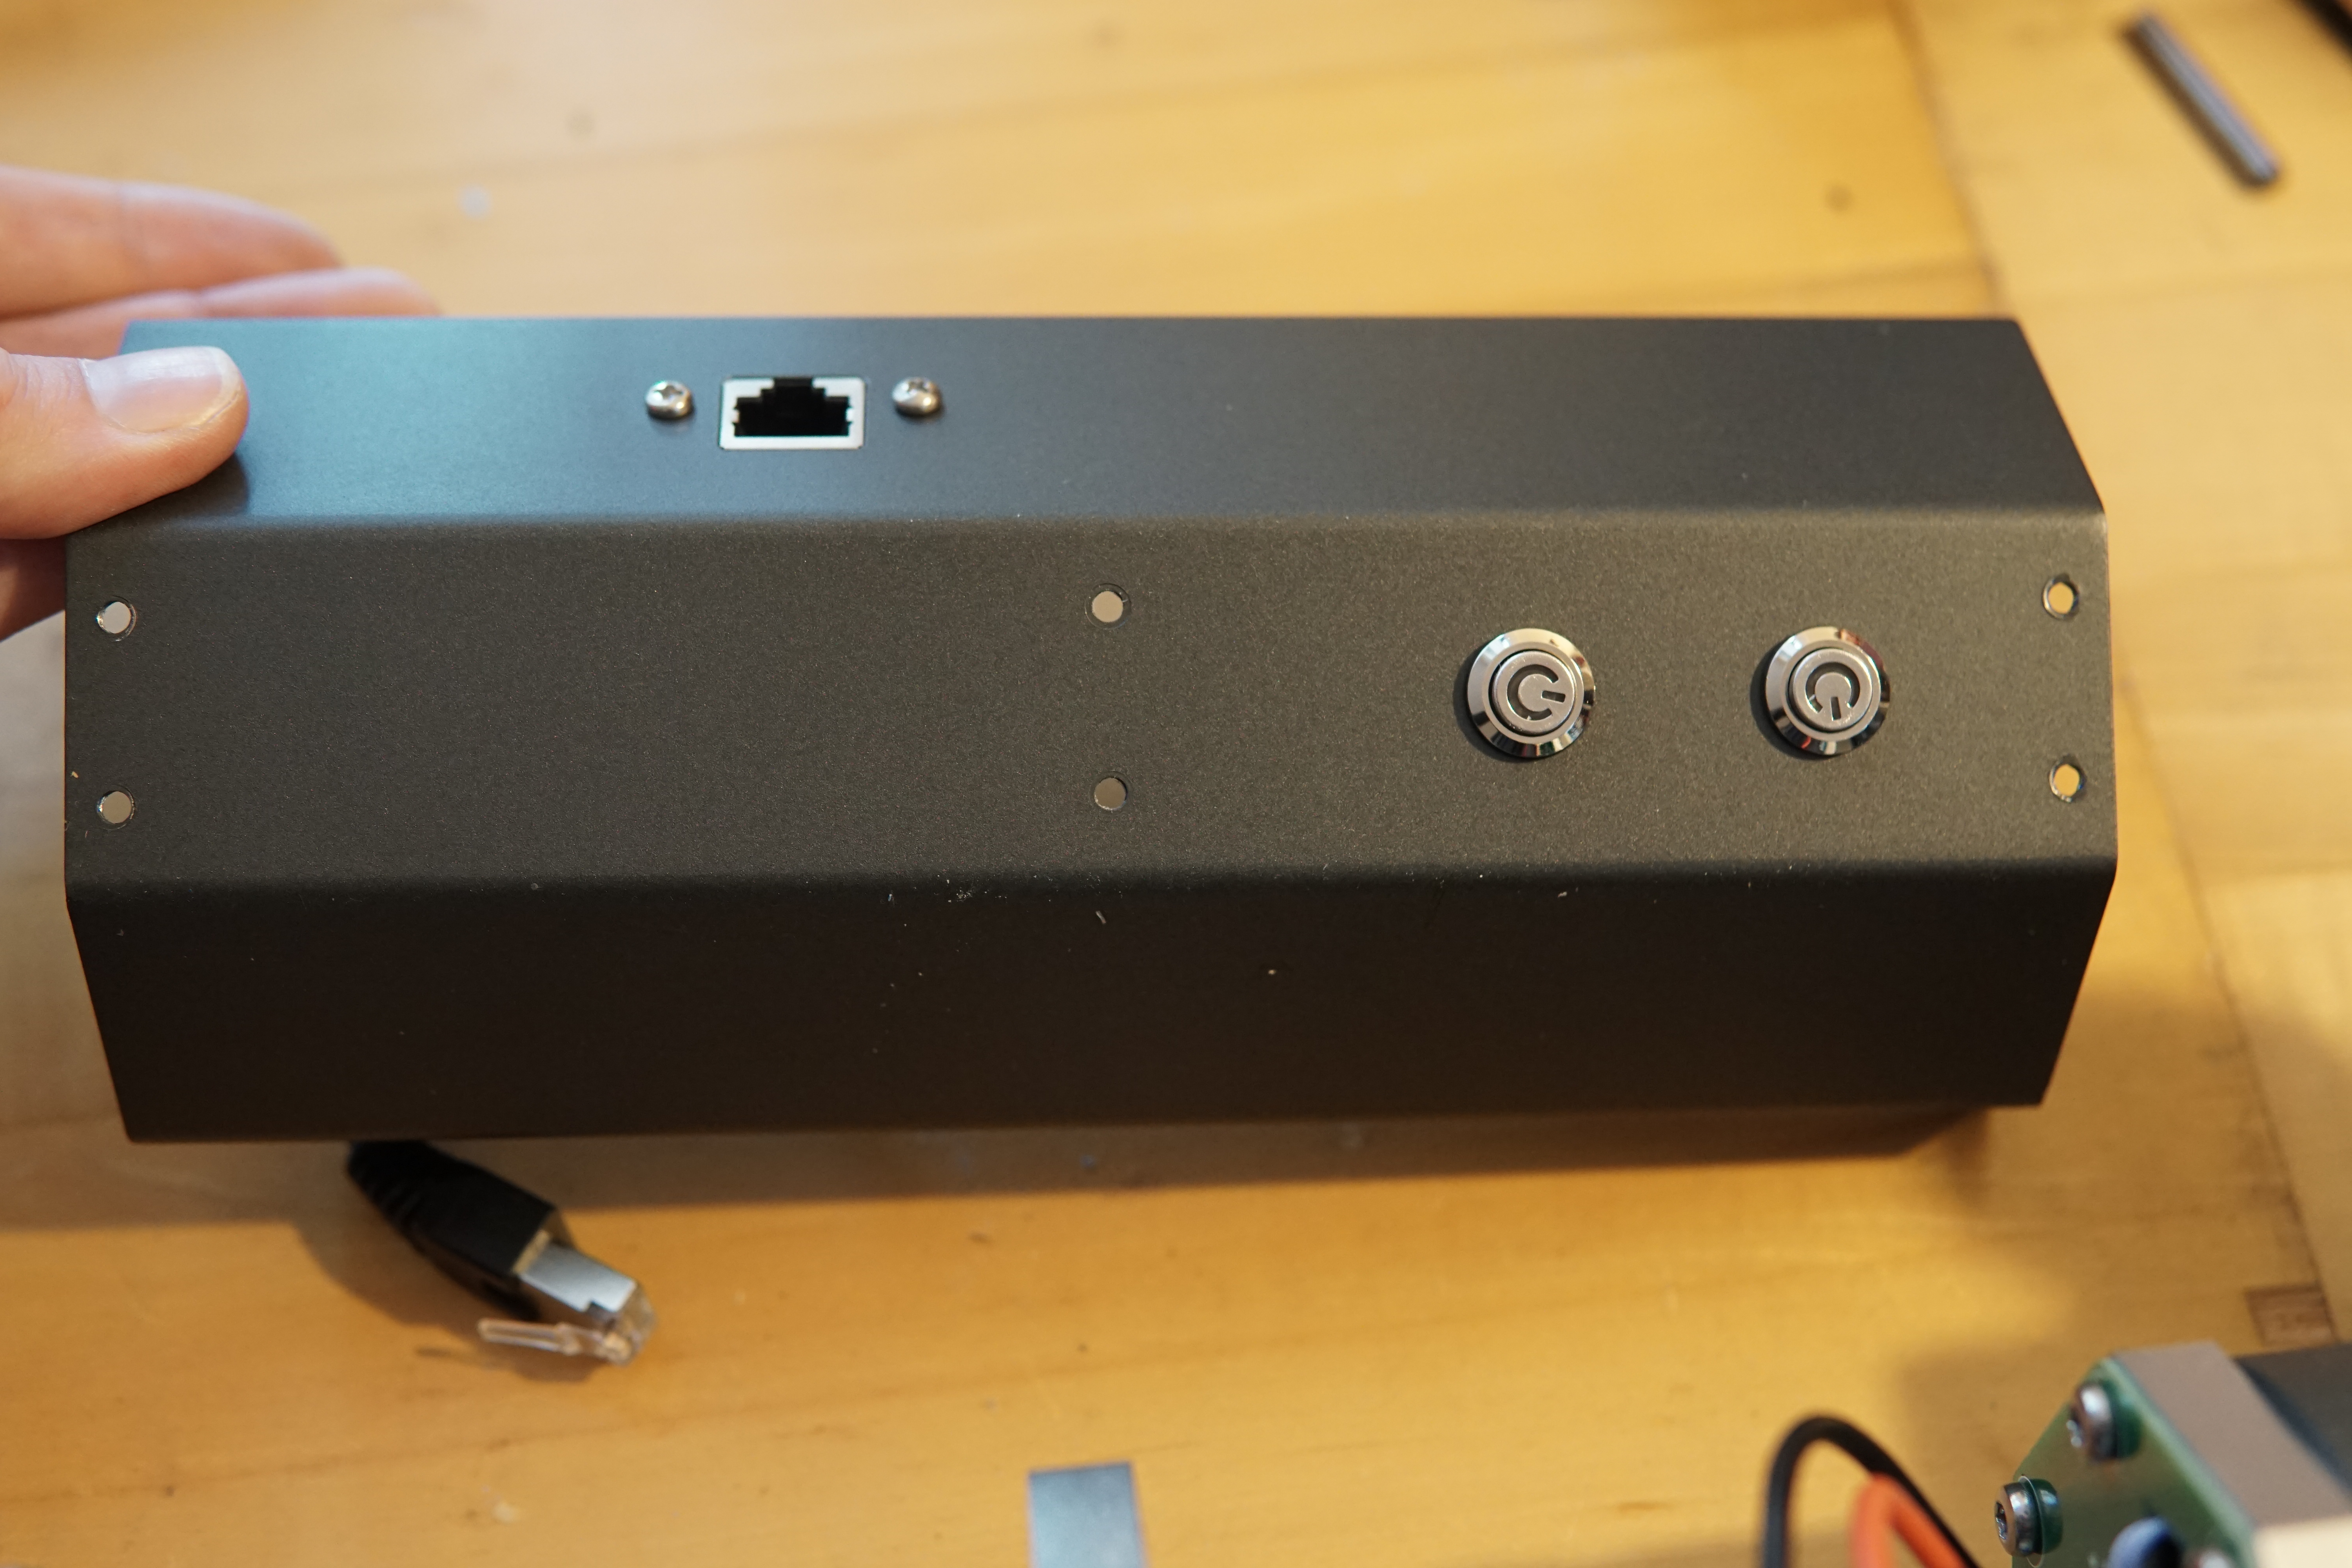
The battery on this robot is integrated rather than swappable (I guess you can't ship off-the-shelf drill batteries in a product), so there's a charging port on the outside:

All the panels removed. Blue battery visible under the power board:

Rather than wiring harnesses from the legs straight to the power board, there are power/CAN distribution boards on both ends of the robot, with one XT30 connector and CAN connector per motor:


The computer (UP Board) and SPIne board (SPI to quad-CAN interface) is nearly unchanged from my design. Curiously, they aren't running the CAN grounds to the actuators, even though the CAN interfaces are isolated. I haven't probed around too closely, but it sure looks like the CAN transceivers on the computer side are just floating. Seems kind of sketchy.

Pulling off the power board I found this funny assembly issue - the coax cable running from the RC receiver to the antenna on the back of the robot somehow got snaked through the leads of the isolated power supply powering the computer:
6s LiPo battery built in - I didn't take it apart any further than this:

I was expecting a cell-phone grade IMU in this thing, but it actually has something kind of expensive, a YIS300. Never heard of these before, but it seems similar to the Vectornav or Microstrain IMUs I used, with an on-board orientation estimate. These seem to be a few hundred dollars at least on AliExpress, so not cheap. The hot-glue based micro USB connector retention is... questionable.

That's about it - I didn't want to recalibrate anything, so I didn't take the actuators fully apart. I don't have any concrete plans for the robot, but I'm sure it'll show up again here.

Very cool too see. Interesting that they went with injection molding even for a presumably lower number of built robots. Thank you for your takes on the design and changes. It appears to me like a quite solid effort. The robot is still gorgeous. Have great day, Ben!
ReplyDeleteHow would you improve the belt tensioner bearing?
ReplyDeleteAdd a sleeve around the bearing so it's actually cylindrical and spans the full width of the belt. Otherwise it's as if the belt is narrower, since the fibers that aren't supported by the tensioner aren't really helping.
DeleteMakes sense 👍🏻, thank you for your insight!
DeleteCurious to hear about what changes you made to the idler... I CAD'ed up the leg a few years back and found the original idlers really didn't have that much space for significant changes. Did you switch to a single idler with proper flange bearings? Widen the leg to accommodate a full belt width needle roller bearing? Move the idlers up/down the leg?
ReplyDeleteI added a thin sleeve around the bearings, so that the back of the belt would be fully supported. I also just beefed up the idler structure as much as possible given the area and made them out of 7075 rather than 6061, since the first set I made got bent.
DeleteI've got a small slack community trying to learn to use the few affordable quadrupeds available. A few of us have Unitree dogs, and Xiaomi Cyberdogs. Feel free to drop in and chat. https://join.slack.com/t/robotdogs/shared_invite/zt-1fvixx89u-7T79~VxmDYdFSIoTnSagFQ
ReplyDeleteDear Ben, do you think a simple bearing can be used instead of the belt tensioner? Thanks, David.
ReplyDelete