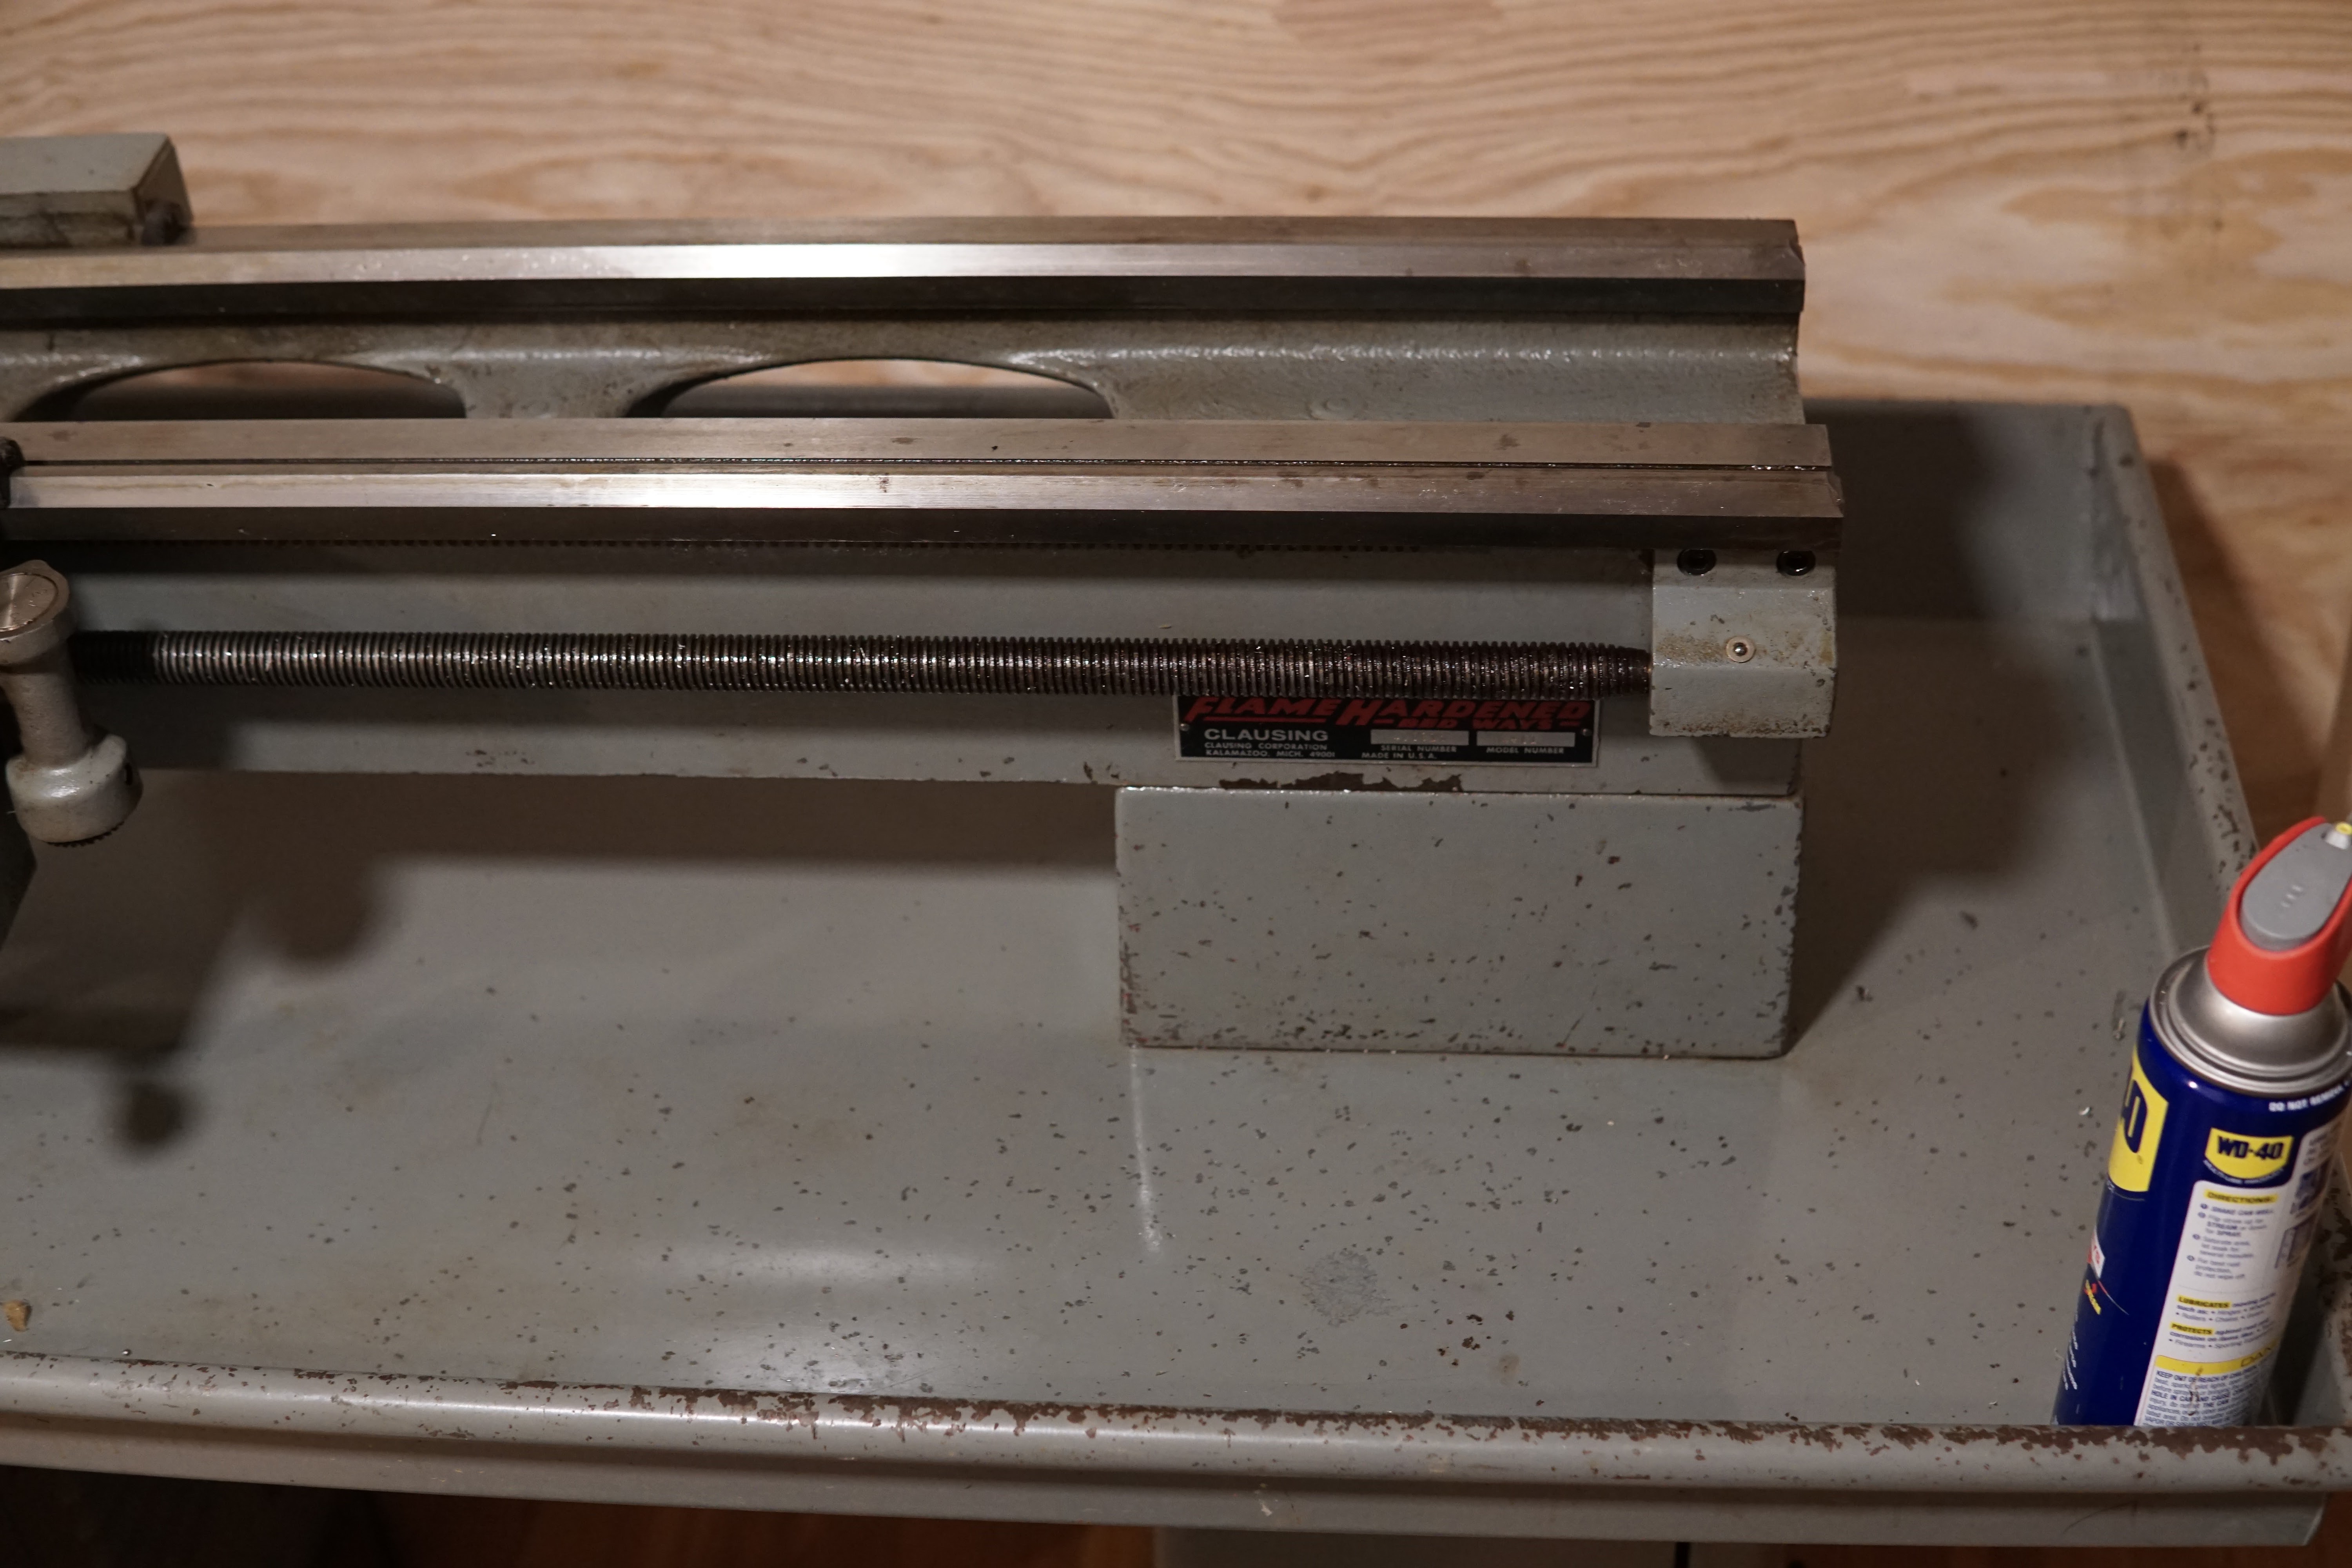
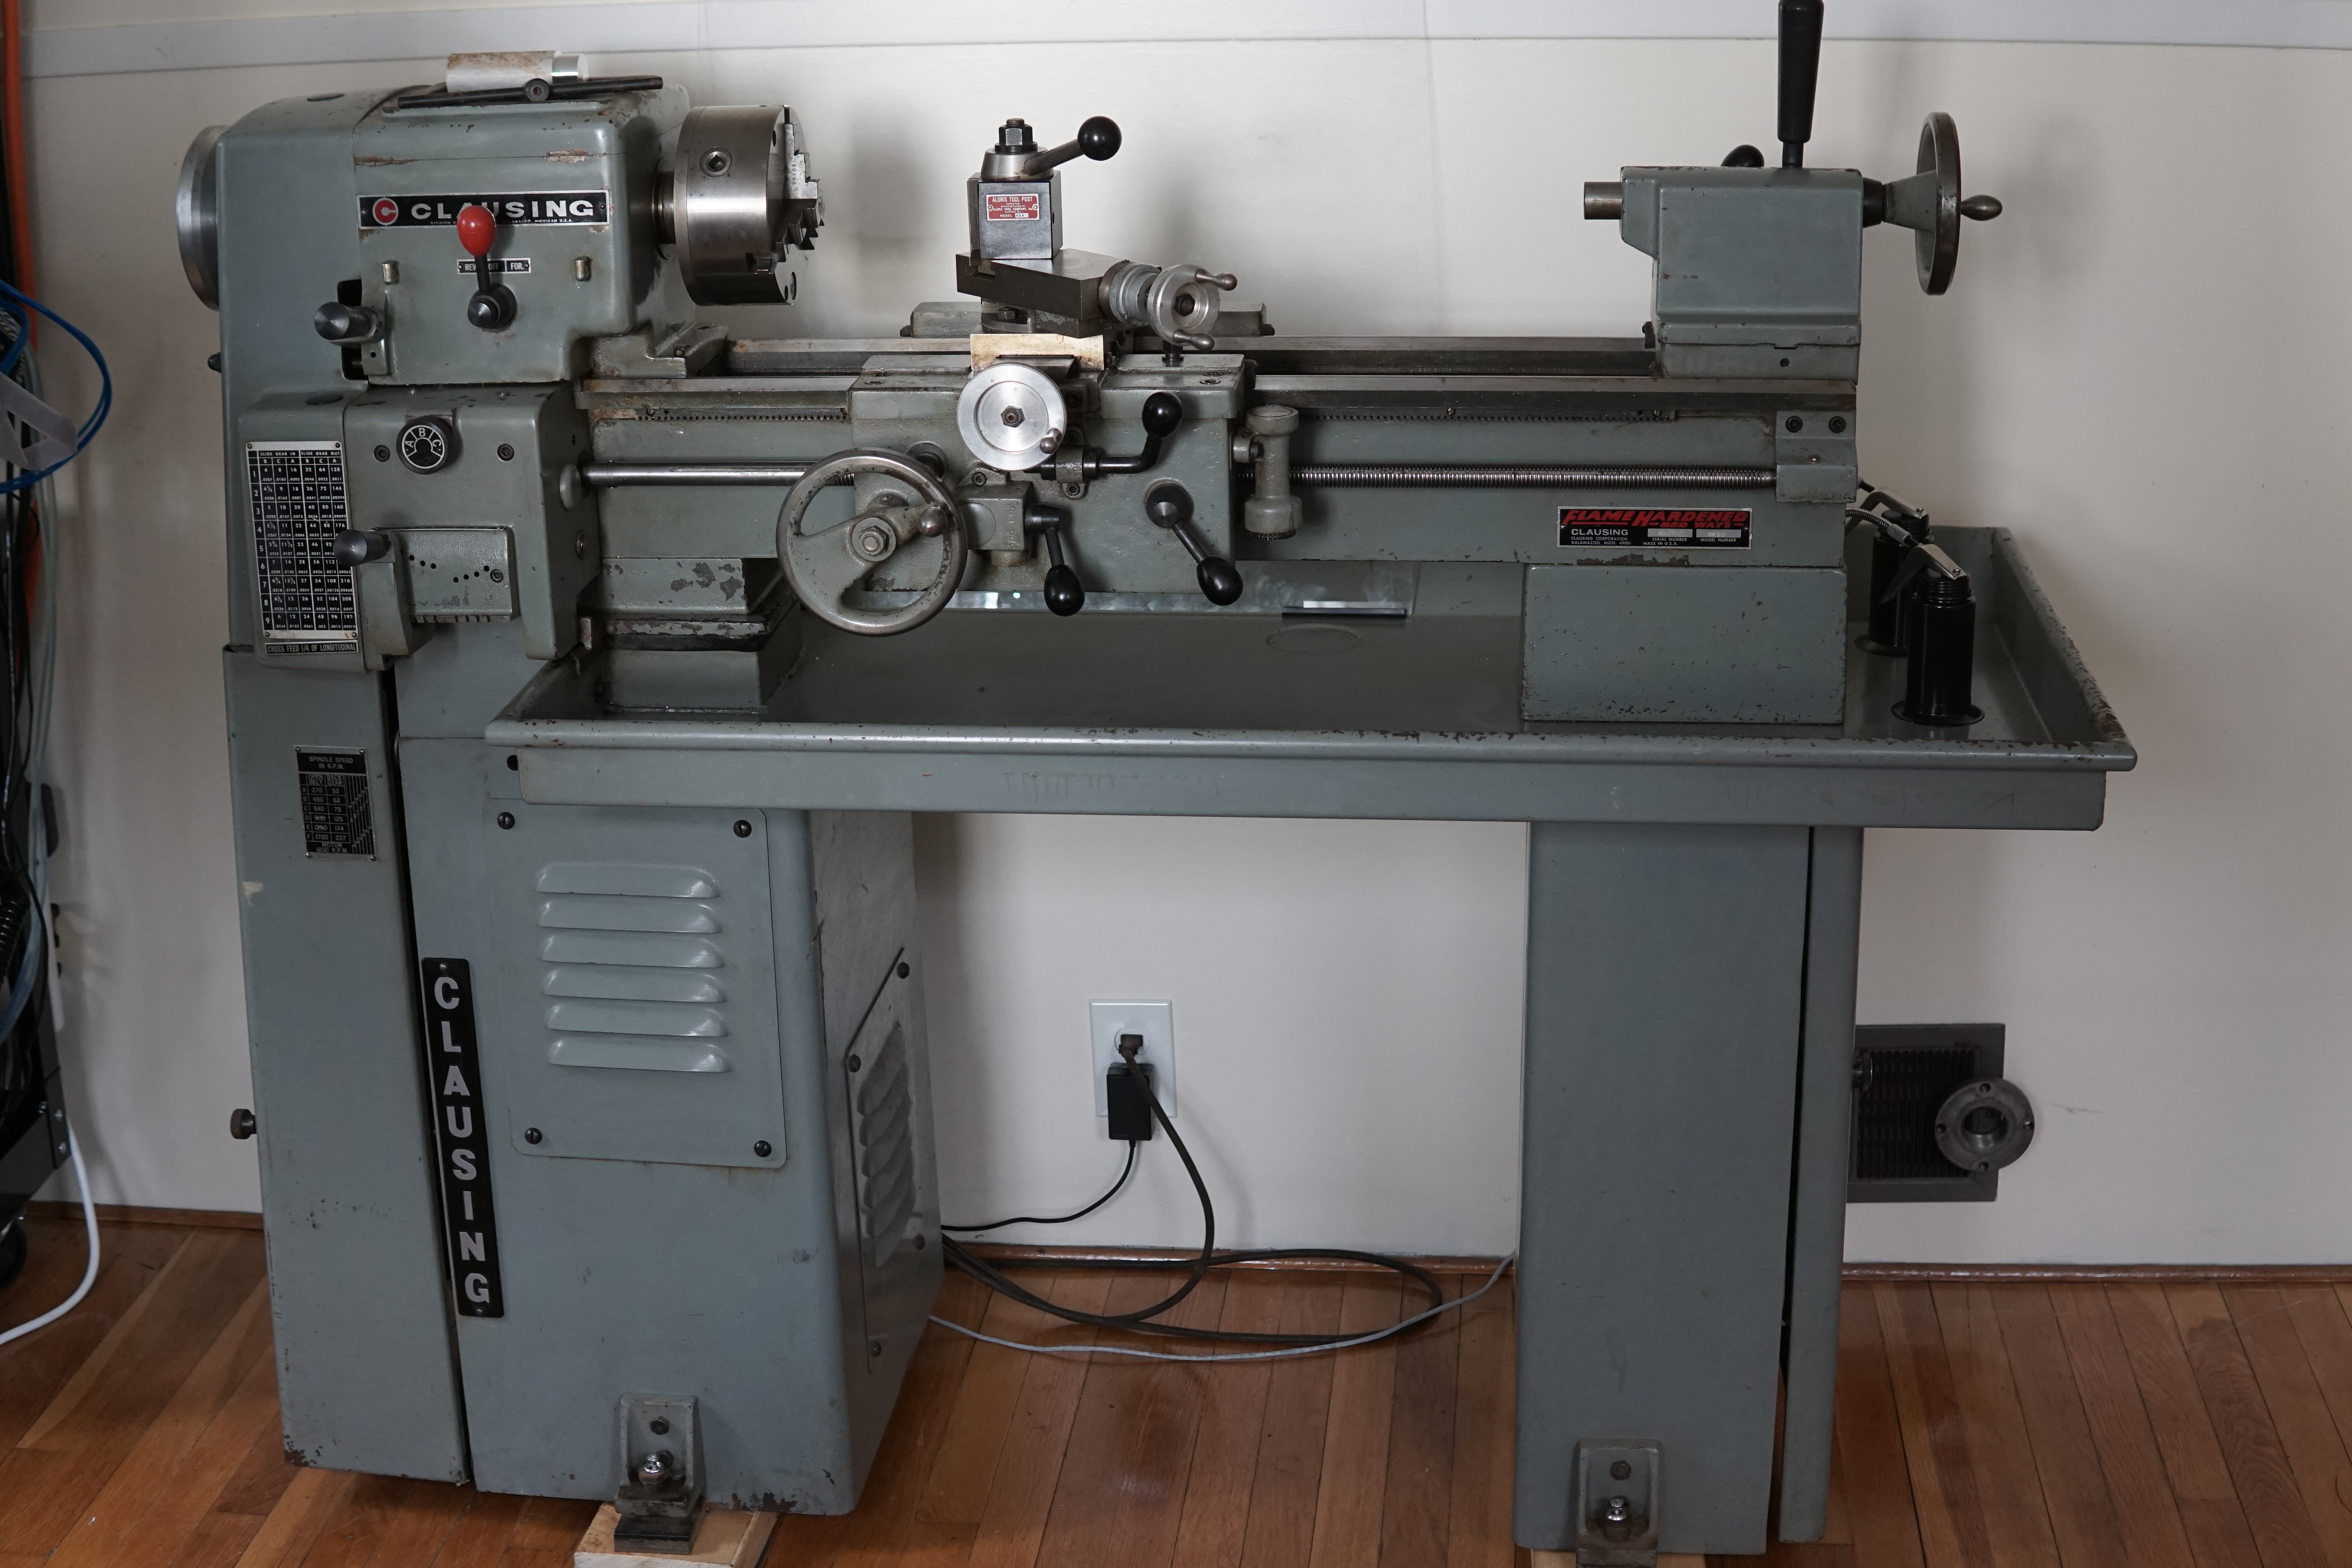
I've been keeping my eye out on craiglist and machinery auctions for a small (but not that small) lathe for a while now, but small lathes (other than import mini-lathes) are pretty uncommon. Someone Austin knows just bought a house just a few miles away from me with this Clausing 4900-series lathe in the basement, so we visited to take a look:
The scale of this lathe really didn't come across in photographs - it's way smaller than I originally thought from the pictures.
MITERS has a Clausing lathe of the same era, a 6918, which looks almost exactly the same but scaled up around 50% in every direction - from the original pictures I saw, I was expecting something more like the MITERS-lathe.
I took some measurements, determined it would be possible to fit in my apartment, checked out the joist situation supporting the floor where the lathe would sit, and decided to go for it.
For for the move, I recruited
Rob and
Andrew, who have moved many tons of machine tools over the last several years (probably all of which are much heavier than the 800-ish pounds this lathe is), plus Austin, Aaron, and myself.
We started by splitting the lathe off its base, to make it less top-heavy. The lathe and chip tray were un-screwed from the two legs and lifted up with an engine hoist. We removed the legs and slid Rob's heavy-duty dolly underneath.
The basement the lathe was in had a door directly outside (so we didn't have to go up any stairs), but the door was pretty far from where we could get a pickup truck. A dumpster blocked most of the driveway, so we had to haul the lathe up a small hill and around the dumpster. The dolly rolled surprisingly well over the dirt and grass, even with ~600 lbs on it:
Lifted up again, dolly and all, ready for the truck to be backed under it:
Loaded up and strapped down in the Sliski-mobile. The 8' truck bed makes the lathe look even smaller:
Getting the lathe into my place was a little tricky since there wasn't a lot of space to maneuver, but it went smoothly.
Here we are going through the front door. We hand-lifted the lathe up the two steps. A couple feet inside the front door there was an area of floor we had to avoid, where there's a trapdoor to our water heater. There aren't joists spanning that section of floor, so we skirted around it.
The dolly just barely fit through the internal doorways, once the doors were removed from the hinges:
To re-assemble the lathe, we again lifted it with the engine hoist and re-attached the legs while the hoist was supporting the weight. I put a couple 2x6's under the lathe's leveling feet, with big felt pads underneath, to spread the load and protect the floor.
The lathe back on it's stand, in all it's grungy glory:
Initially the headstock was full of paper and cloth scraps - some mice had made a home there. Fortunately the mice were long gone, and thankfully hadn't left behind any mummified remains. After vacuuming out all the detritus, here's what the inside of the headstock looked like:
The gears looked pretty rusty, the lever for engaging the back gear was stuck, and the spindle wouldn't turn once the power feed was engaged. I worked things free by liberally spraying all the gears and shafts down with WD40 and gradually working the spindle back and forth by hand with the power feed gears engaged. Eventually all the sticky spots in the gearing smoothed out, and the power feed and back gear shifted smoothly:
At first I thought I'd have to take the headstock apart to clean the rust off the gearing, but I was able to do it in-place with a small wire brush. The state of the gears in the headstock also made me worried about the spindle bearings. I oiled the spindle bearings and ran the spindle, and the oil that leaked out from the spindle was clean - so I'm assuming the spindle bearings aren't full of rust.
Scrubbed feed gears:
Scrubbed headstock gears:
Gears cleaned, power feed gears greased with some molybdenum disulphide grease, and a fresh timing belt installed - the original was damaged trying to remove it during the move.
I cleaned the decades of gunk off the painted surfaces by spraying them down with WD40, scrubbing with a plastic-bristled brush, and wiping away the sludge.
Here's the chip pan mid-scrubbing:
Hard to believe this was hiding underneath all the dirt and oil:
I took the cross slide off, and the sliding surfaces look like they're in great condition. The original grinding marks are still visible across the whole underside of the cross slide, and the lead screw nut has very little backlash. Also encouraging, the cross slide doesn't tighten up at the extremes of its travel, which would have been a symptom of worn ways.
Here it is all scrubbed with the covers back on. Looking pretty good, I think:
The lathe came with some great accessories, including the change gears for metric threading. Most of the accessories had surface rust, but cleaned up really well with some Evaporust.
Before:
After:
8" 4-jaw chuck post-cleaning:
The lathe also came with the original paper manual, factory inspection report, and accessory manuals:

The manual is full of beautiful hand-drawn exploded view like these:
There were some other good bits of history in the manual. The metric threading gears apparently cost $150 in ~1970 (~$1000 in today's dollars). Unfortunately the micro carriage stop listed isn't around any more.
Eventually I'll get the manual properly scanned and post it online. I was able to find the operator manual online already, but not the exploded views, parts lists, and accessory manuals, so someone else might find those useful.
Here it is running and taking it's first cuts out of some scrap aluminum:
The lathe is fully operational now, but I am planning on a few immediate upgrades like adding a digital readout. All the lathes I've used have been communal (and most of them haven't even had a DRO). I'm excited for the opportunity to set up a proper tool library with tool offsets stored on the DRO, and no one but me to mess them up. That should make work way more efficient. Along with the DRO I'll likely make a solid tool post mount to replace the compound slide,
a-la-Renzetti.
The 3/4 HP single-phase AC motor and v-belt system might get swapped for something a little more powerful eventually (should be able to get around 3X the power out of a typical outlet), and electronic speed control would be a big improvement over shifting v-belts around.




.jpg)
.jpg)
.jpg)
.jpg)

.jpg)
.jpg)
.jpg)
.jpg)