March 4, 2013

Tricycle Shenanigans, Pre-CPW Stress Testing

The tricycle has actually been done for a few weeks now.  The two things stopping me from doing a final writeup are that I have still not gotten around to taking nice pictures of it, and until yesterday, I did have any good videos either.  In the acquisition of the video, some parts of the trike were broken, so now the pictures have to wait until everything is fixed and pretty again.  Here is as close to a final picture as I have right now:


Before doing any thorough testing, I remade the stem, which I broke just before TechFair.  The original stem was made from a block of aluminum that was a little bit too small.  I had to use thinner bolts than I would have liked to, and they were the super-shady kind of bolt MITERS probably purchased by clicking "sort by lowest price."  The fit around the handlebars was never ideal, so I had to crank the bolts especially tight to stop the bars from rotating.  I overtightened one of the shady bolts, and sheared it off inside the stem.  I may have been able to remove the left over bolt-stump, but the failure was a good excuse to make a new and better stem.

Here's the back end of the old stem, with embedded bolt:


I made the new one much better looking.  I started out by facing all six sides of a large chunk of aluminum, which used to be part of an even larger billet that found its way to MITERS from the CSAIL stock room.


To make the circular lip that holds down the headset bearings, I clamped the block to an indexing table:


Also using the indexing table, I milled a nice curved face into the front of the stem, à la Amy:


I drilled and countersunk all the holes on the mill, and cut the slots on the bandsaw.  All the corners were rounded on a belt sander, and then finished with some sandpaper by hand.  Also, this time around the headeset cap sits flush with the surface of the stem rather than sticking above everything.


And finally, here is some real footage of the trike in action!


Jaguar and I started out by taking it to the Kresge oval, but the path turned out to be too rough in places to sustain very high speeds.  On the way there from EC, we attempted some 2 person riding, to determine whether it would be possible to trike around with  prefrosh on the back during CPW.  This kind of worked.  The second person rides by standing on the back platform and leaning forward, holding onto the driver's shoulders.  This riding method caused two problems - one per foot.  If the rider's feet are hanging off the back of the platform, and they lean back, their heels put pressure on the things sticking out behind the metal:  The battery cover on the left, and the power switch on the right.  The acrylic battery case snapped into 3 pieces, and the power switch also broke.  I was able to duct-tape the switch together enough to keep it working, but it will need to be replaced.  I will probably remake the battery cover out of carbon fiber, since carbon fiber seems to be my answer to everything right now.  On the way back to EC via the Infinite Basement Corridor, we realized it was two thirty in the morning and no one would know/care if we rode around in the basement tunnels.  Due to their width and slippery floors, the tunnels around Stata are especially good for drifting.  This lead us to what may be the best (well, very early on Sunday mornings, at least) small electric vehicle racing grounds on campus:  the parking lot under the Stata Center.  The concrete surface makes for excellent traction.  It has regular pillars which would make setting up a race course easy, but it also has long straights all the way across its length and width.  There isn't enough space to max out the trike, but we easily got it into the upper 20's (estimate based on which gears we were in) on the straights.

Here it is in its ugly but still functioning state, pre Stata:


The night morning of riding ended when I accidentally pulled loose one of the leads to the hall effect sensor board loose while fiddling with the power switch.  

Some thoughts and observations:

-Some serious prefrosh-proofing would be required to make this a CPW event (e.g. no more acrylic or switches sticking out)
-Swappable battery packs are awesome.
-Even with the current limiting set to around 80% of maximum on the motor side, the controller still sometimes cuts out, especially if you gun the throttle right after shifting.  According to Shane, getting a Kelly with the high speed option would probably eliminate this problem.  To be fair, this is an awfully big motor to be driving with this controller
-MITERS Small EV Rallies in the Stata Garage need to become a thing.  All the pillars and other obstacles would make it pretty easy to set up a temporary racetrack.

Playing with Real Carbon Fiber™

Last semester, the class How To Make (almost) Anything (MAS.863) took place two floors above MITERS, so when their leftover materials were cleared out, MITERS members collected some of them.  These materials included a proper vacuum bagging pump that can be run continuously, as well as some real woven carbon fiber cloth.  


I made a male foam mold for the seatstays, and vacuum bagged it with wetted-out carbon fiber cloth.


Here's the part during the curing process:


And here it is out of the bag, after one layer of carbon.  Unfortunately, the bag did not conform to the shape fo the tubes as much as I had hoped, so there were a bunch of wrinkles in the part.  Also, in the places where the two sides of the bag meet around the edge of the part, the vacuum pulled some fabric into the seam and away from the mold:


When I sanded down the seams, I found that there were gaps under them:


In places where the bag didn't wrinkle, the surface finish was really nice:


Despite the defects in the part, I decided to go ahead and add more layers of carbon fiber.  There were fewer wrinkles the second time around, but there were still long voids along the seams.  Also, I really overbuilt this part.  The tubes are much wider diameter and much thicker than they need to be.  I plan on remaking this part with a somewhat different technique, to make it lighter and less bulky.


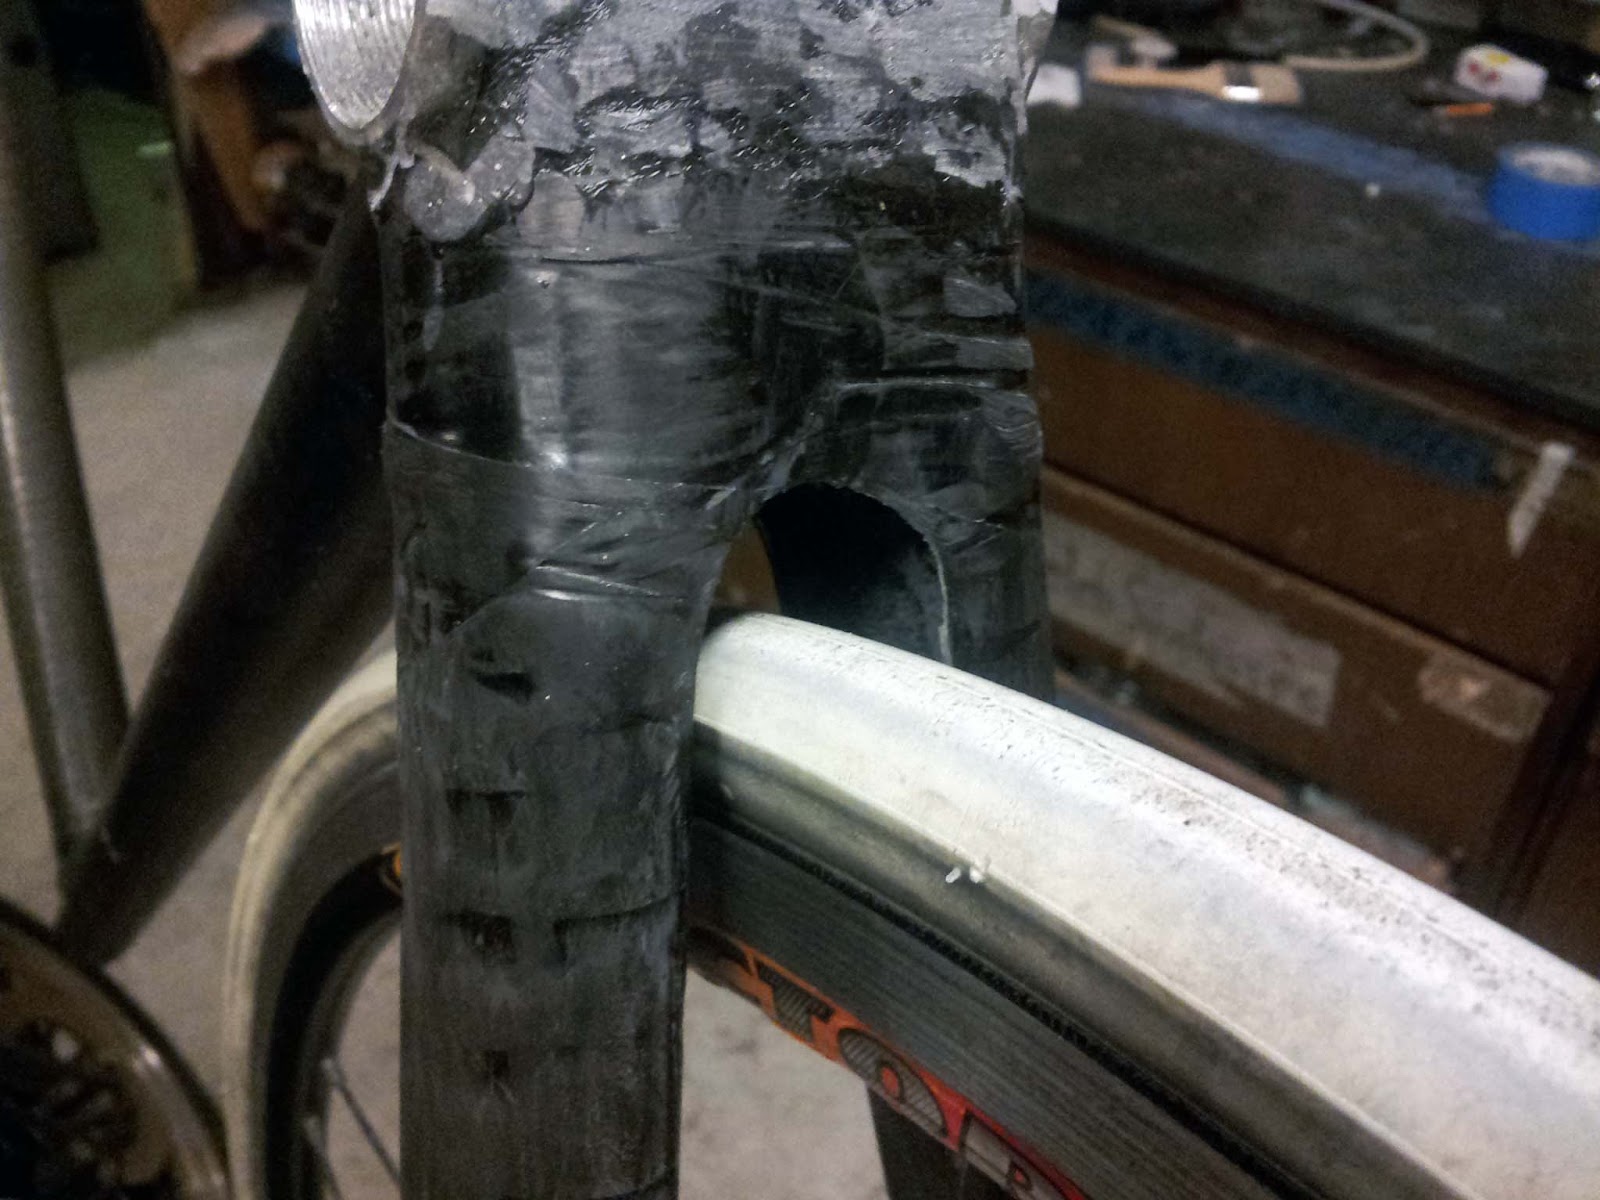
When I made the chainstays, I did not leave enough clearance for a tire.  I cut out a profile to make room for the tire, and then covered the gaps in the tubes with two layers or carbon fiber cloth:


Finally, I inserted a carbon fiber shim to bring the I.D of the seat tube down to the appropriate diameter for clamping a seatpost.  The shim was yet another piece of the oar, that just happened to be the exact dimensions I needed:


February 10, 2013

Laminated Chainstays

During the blizzard-induced long weekend, I made a mold for the bike's chainstays and laminate it with carbon fiber.  I started out with a block of pink insulation foam:


I cut down the foam into a block for the spot where the chainstays connect to the bottom bracket, and two tapering rectangular rods for the chainstays themselves, and glued the three pieces together:


Lots of sanding ensued, and the end result was this:


I didn't think that the foam itself was sturdy enough to not get warped when vacuum bagging, so I laminated over it with a layer of fiberglass cloth using the electrical tape method.  The fiberglass also insulates the carbon fiber from the aluminum.


To do the vacuum bagging, I made a nozzle that connects the vacuum pump to the bag.  The barbed brass fitting threads into the circular aluminum plate through a small hole in the bag, and squeezes the bag between the washer and the aluminum plate to seal it.


The fitting worked reasonably well, but I was never able to get the bag sealed enough to retain a vacuum.  This would not be a problem if I could leave the vacuum pump running for ~10 hours at a time, but apparently the MITERS vacuum pump isn't designed for continuous use.

To laminate over the chainstays in carbon fiber, I chose to make my own unidirectional carbon fiber cloth out of the giant ebay roll of 12K tow I bought for my bamboo bike, rather than begging the FSAE/Solar EV teams to give me some of their cloth.


These sheets were folded over into four layer thick bundles, which cover the chainstays something like this:


After soaking everything through with epoxy, they looked like this.  One leg has already been sanded:


The dropout area will be further reinforced:


 As will this bit.  I may neet to carve away some material and re-laminate it, as I'm not sure I left enough room for tire clearance.


Over all, it worked pretty well, although using tape to compress the joints made the surface wavy.  Lots more cleanup work will be required to get them as smooth as I want.  I have also found a few spots that are too thin, and will need some more reinforcement.  Once I finish cleaning up the surface and reinforcing everything, I will probably do a thin cosmetic layer of carbon to make it nice looking.

February 4, 2013

OarCycle: Tacked Front Triangle

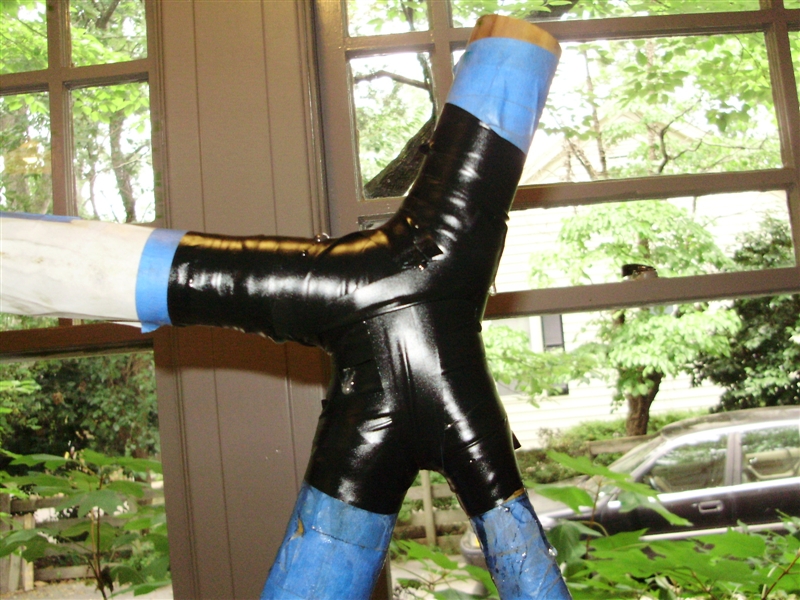
I finished mitering the carbon fiber tubes, and tacked the frame's front triangle together.  Before doing so, I put a layer of fiberglass composite over the outside of the bottom bracket shell and head tube.  I attempted to vacuum bag the tubes, but I forgot about all the volume on the inside of the tubes when making the vacuum bags.  When I turned on the vacuum pump, all the bagging was sucked into the centers of the tubes, which caused the bagging to leak.  To avoid having to run the pump constantly to maintain the vacuum while the epoxy cured, I went back to the electrical tape method of compressing the composite.


To fill some gaps due to imperfect mitering and to fillet the intersections of the tubes, I made some epoxy filler by shredding carbon fiber tow.  The resulting mixture was smoothed over all the joints:


Because Carbon Fiber, the frame is much lighter than it looks, with the front triangle weighing in at 720 grams.  For the complete frame, I am aiming for something just above 1 kg, making  this frame under half the weight of my bamboo frame.


I made dropouts track fork ends to hold the rear wheel out of scrap 1/4" aluminum plate.  The two dropouts were roughed out independently, and then clamped together for final machining.  The non-right-angles were done by some creative clamping on the mill.


I touched up the dropouts on the belt sander, to round off some sharp corners and make them shiny:

Who needs a waterjet cutter....


Next up:  the rear triangle.  This bit is going to take much longer, because a) IAP is over, and b) I am out of pre-made carbon fiber tube.  I plan on making some sort of form for the seat stays and chain stays out of foam, and laying up the tubes from carbon fiber cloth myself.

February 2, 2013

Bike Frame Jig

Begin Build Everything Before IAP Ends mode:

I chopped up the oar with an angle grinder.  Sorry MITERS.  

Almost looks like a real bicycle

Rather than deconstructing an old aluminum frame for the head tube, bottom bracket shell, and dropouts, I will be making my own.  I learned how to make threads on the lathe, and made my own BB shell out of some aluminum tubing.  It is much thinner than one you would find on an all-aluminum bike, but since it will be wrapped in a few layers of fiber-reinforced-epoxy-composites it should be fine.  All the aluminum parts of the frame will be coated first in a layer of fiberglass composite before any carbon fiber, to prevent galvanic corrosion.


The BB shell is left hand threaded on the right side and right hand threaded on the left side.


Unlike my bamboo bicycle build, this time around I do not have a donor bicycle I can use as a jig. I built my own jig using some 80-20 extrusion, nylon rod, and aluminum plate I could scavenge.  I turned the nylon rod into 5 cones.  These cones will fit into the ends of the frame's tubes, holding them precisely centered.


Here is the finished jig for the front half of the frame.  It is fairly adjustable, so I could use it to build other frames later on, if I wanted to (provided they are the same size or smaller, and the head tube angle is roughly the same as the seat tube angle).  


I have the jig set up to mimic the geometry of the 56cm Trek Madone 7, their highest end road bike.  From the bike geometry information they provided, I was able to CAD the entire bike's geometry, and figure out the shape fo the jig from there.


The cones can be positioned at any point along the 80-20 extrusion:


With the jig done, I started mitering the carbon fiber tubes.  I did this on the mill with a hole saw.  Weird angles were made by rotating the mill head:


One down, two more to go.