

Where I left off, the front half of the tricycle's frame was mostly built, as were the bits and pieces for pivot. To connect the two halves, I made the piece below. It grips onto the rod that passes through the bushings with two set screws, to make the frame easy to take apart.

I welded it in place at the bottom of the curved tube:


On to different things. Here are the two plates that support most of the drivetrain components. Since I don't (yet) have access to all the nice things on campus, these were made on the mill.

To angle the plates, I did some ninja-clamping in the mill using the old side panels from LandBearShark to prevent the plates from chattering too much. Since the bandsaw was not cooperating at the time, I just milled off all the material above the line.

Something else completely different. One problem with using an internal hub gear in the trike's transmission is that hub gears are meant to be laced to a bicycle wheel. I wanted the hub to output to a small sprocket, which would then drive a chain and a larger sprocket on the differential. I made a sprocket adapter that bolts to the hub via the spoke holes. I didn't have any aluminum round large enough to make it all in one piece, so I started out with a square of 1/2" aluminum plate. I drilled a hole through the center, and bolted a 1/2" threaded rod through the hole. I chucked the rod into the late, and made the square piece round. I drilled holes that line up with the spoke holes on the hub using this handy indexing head:

The plate that actually will hold the sprocket bolts to the fist plate. The sprocket will later be bolted to the raised center section of the adapter.
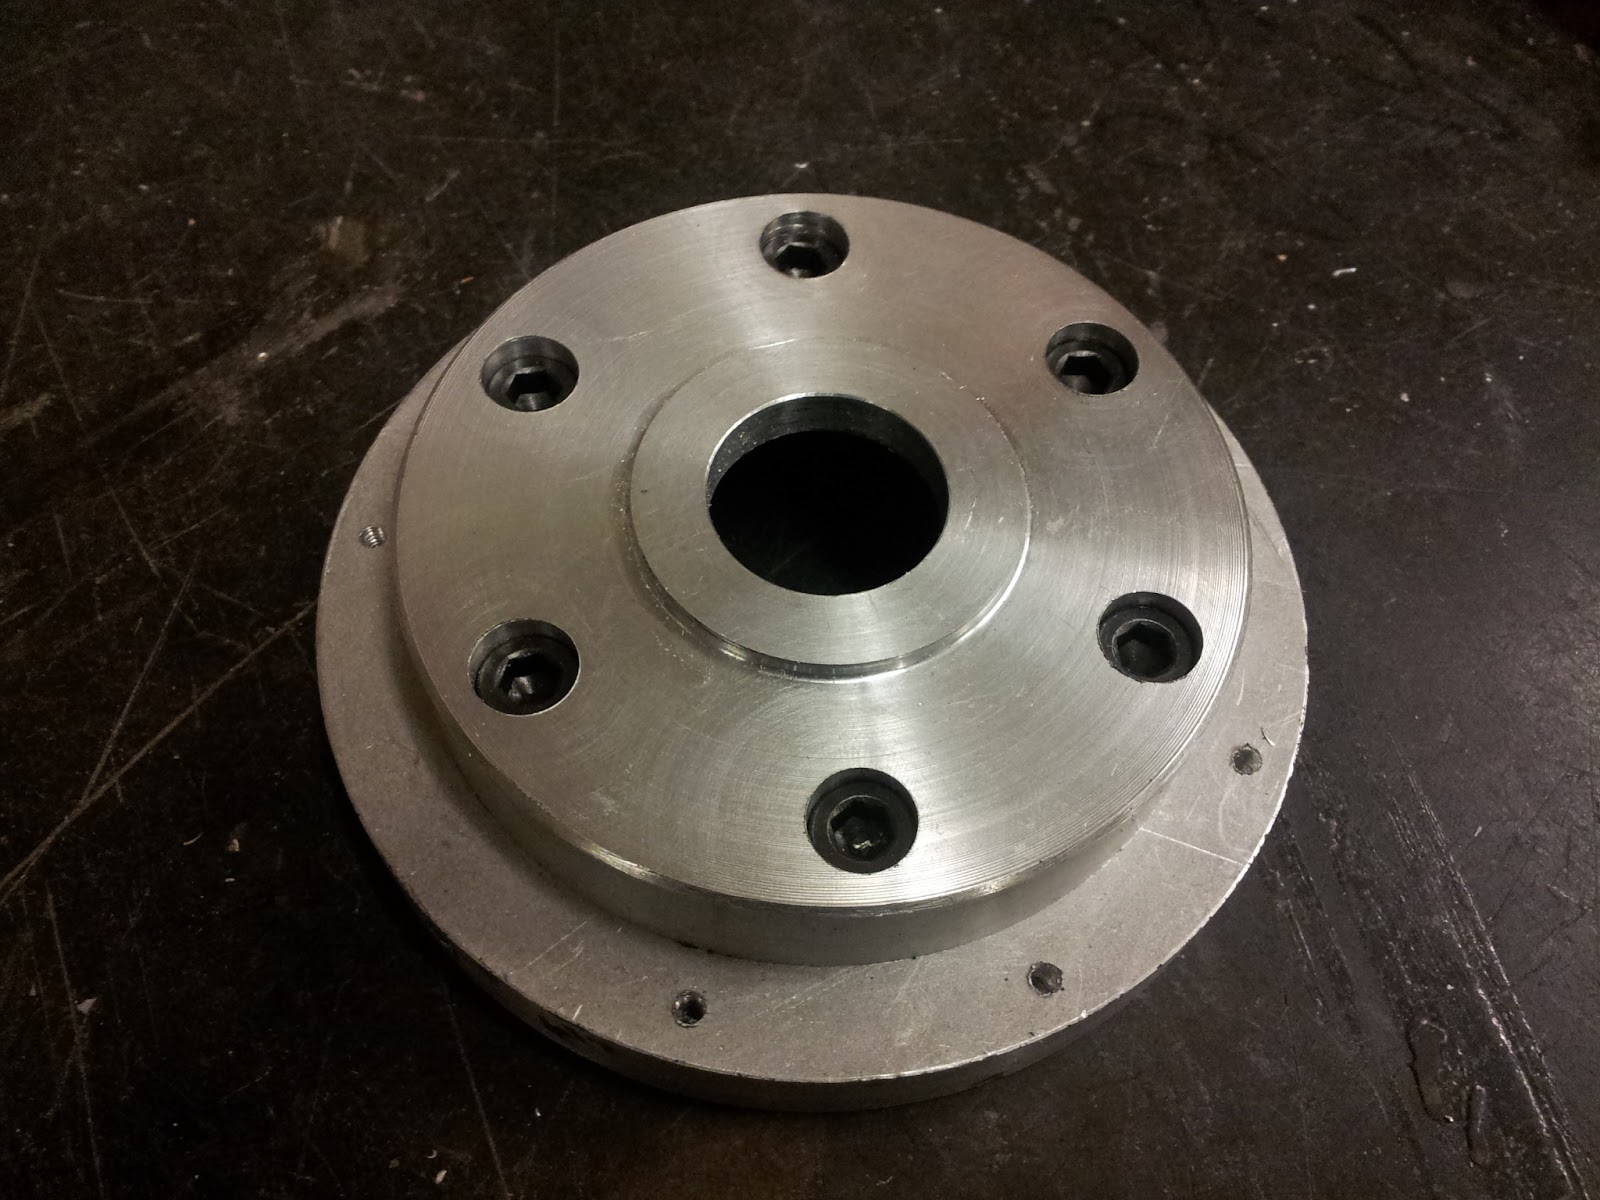
The bevel on the inside fits just outside the angled surface on the hub.


Attaching anything to the input end of the internal gear hub was also a problem. It came with a pair of bike chain sprockets, but I wanted to use 35 chain. The stock sprockets had an annoying 3 spline hole in it that meshes with the hub. I more or less recreated the pattern by widening the hole in the sprocket on the lathe, and then using the indexing head to mill the three wider portions of the hole. The splines had to be slightly filed by hand to fit properly, but the final fit ended up being extremely close. Hopefully the torque from the motor won't just strip off the little splines.


Here are the hub and the motor bolted to the two drivetrain-supporting plates:

The big holes will have bearings pressed into them.

Here are all the parts attached to the base plate. The vertical plates and bushing blocks are bolted via countersunk screws threaded into their edges from below.


The tricycle taking shape:


Next up: Building the differential. In preparation, I finalized the CAD model of the differential, and made some pretty pictures using Inventor's rendering engine. I would have probably made a few more, but all of Cambridge lost power in the middle of rendering, and I didn't want to completely drain my battery during the blackout.


No comments:
Post a Comment